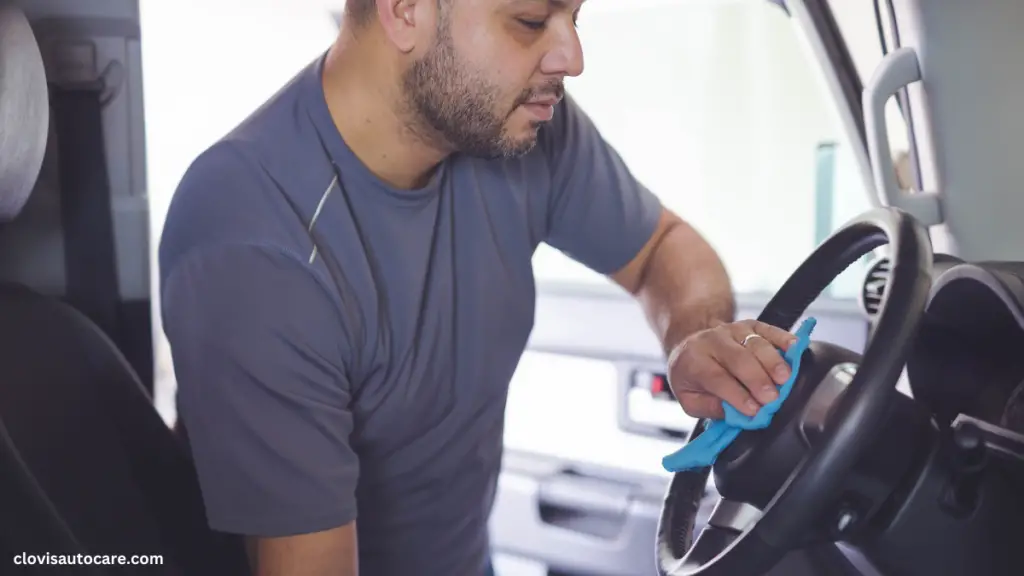
With a little elbow grease and the right know-how, you can achieve that new car feel without the need for a professional detailer.
I’ll guide you through how to clean your car interior DIY style, saving you money and leaving you with the sweet satisfaction of a job well done.
While this guide focuses on basic DIY cleaning, you might also want to check out our [complete guide to professional car interior cleaning] for additional advanced techniques.
Don’t worry if you’ve never done this before; we’ll break it down into simple steps that anyone can follow.
Let’s get going and restore the original shine to your car’s interior.
Contents
Why Clean Your Car Interior Yourself?
Before we dive into the details, let’s explore the numerous benefits of tackling car cleaning yourself.
Not only does it save you money, but it also allows you to establish a personal connection with your vehicle, tailoring every detail to your liking.
Plus, the satisfaction that comes from transforming your car’s appearance with your own hands is truly rewarding.
If you’re still weighing your options between DIY and professional services, check out our article on [the pros and cons of professional car detailing] to find the best fit for your needs.
- Save Money: Professional detailing can cost $100-300, but doing it yourself only costs about $20-30 in supplies.
- Know What’s Going Into Your Car: You can choose safe, natural cleaners that won’t harm your family or pets.
- Clean on Your Schedule: There is no need for appointments; you can clean whenever it suits your schedule.
- Feel Proud: There’s nothing like sitting in a car you cleaned yourself.
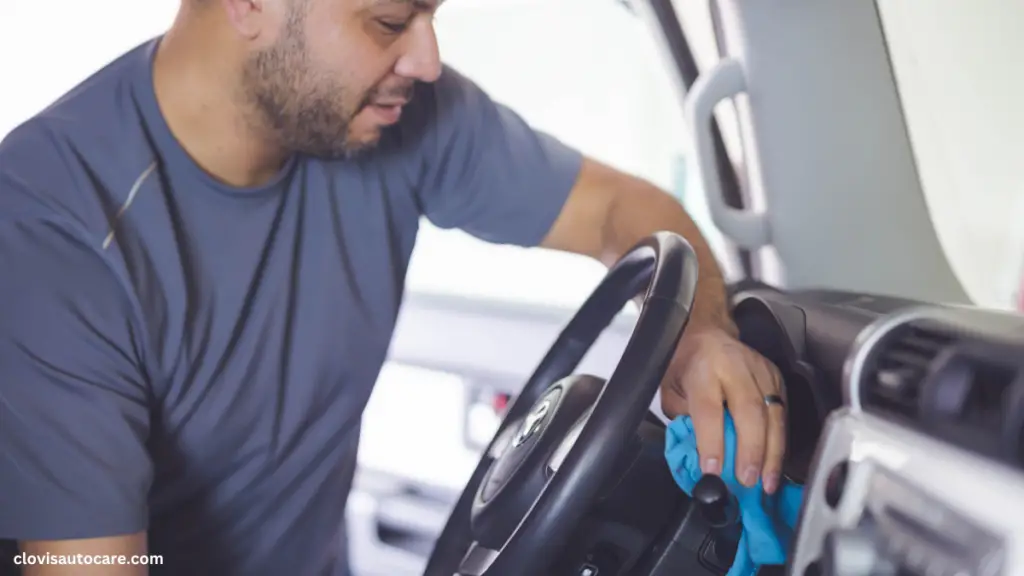
Getting Ready: Your DIY Cleaning Kit
Let’s gather everything you’ll need. Don’t worry—most of these items are probably already in your home.
For a complete list of professional-grade tools, check out our guide on [Best Tools for Car Interior Cleaning].
Basic Tools:
- Vacuum cleaner with attachments
- Microfiber cloths (at least 4-5)
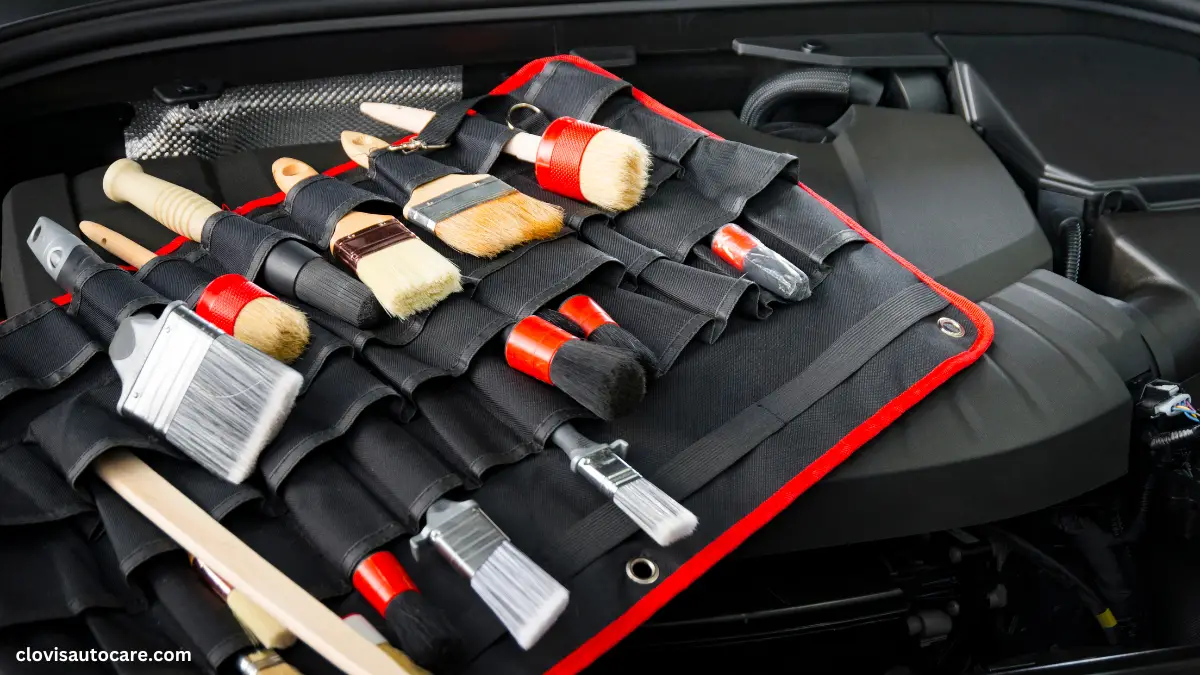
- Small brush or old toothbrush
- Empty spray bottle
- Bucket
- Trash bag
Cleaning Solutions:
Instead of expensive car cleaners, try these simple mixtures. For more options, visit our guide on [DIY Car Cleaning Products You Can Make at Home]:
- All-Purpose Cleaner:
- 1 cup water
- 1/4 cup white vinegar
- 2-3 drops of dish soap
- Dashboard Cleaner:
- 2 cups water
- 1/2 cup olive oil
- 1/4 cup white vinegar
- Window Cleaner:
- 1 cup water
- 1 cup white vinegar
- 1/2 cup rubbing alcohol
Safety First
- Always test cleaners on a small, hidden area first.
- Keep your car doors open while cleaning for excellent ventilation.
- Wear rubber gloves if you have sensitive skin.
- Never mix bleach with other cleaners.
Step-by-Step Cleaning Guide
Once you have all the necessary tools in place, I recommend following these steps to ensure optimal cleaning results, based on my personal experience.
Clear Everything Out (15 minutes)
- Take out everything that doesn’t belong in your car.
- Sort items into three piles:
- Things to keep in the car
- Things to bring inside
- Trash
- Don’t forget to check:
- Under the seats
- Door pockets
- Center console
- Trunk
- Glove compartment
Vacuum Like a Pro (30 minutes)
This is super important. A successful vacuum job makes everything else easier. For an even deeper clean, check out our guide on {how to steam clean your car interior}, which can be especially helpful for stubborn stains.
- Start from the top:
- Start with the dashboard and proceed downwards.
- Use the brush attachment for vents and gauges.
- Don’t forget the rear window shelf.
- Tackle the Seats:
- Remove car seats if you have them.
- Use the crevice tool between seat cushions.
- Move the seats forward to ensure the area behind them is clean.
- Remove and shake out floor mats.
- Get the Floors:
- Use the regular vacuum attachment.
- Work from the back to the front.
- Don’t forget under the pedals.
Pro Tip: Use the brush attachment first to loosen dirt, then follow with the regular attachment.
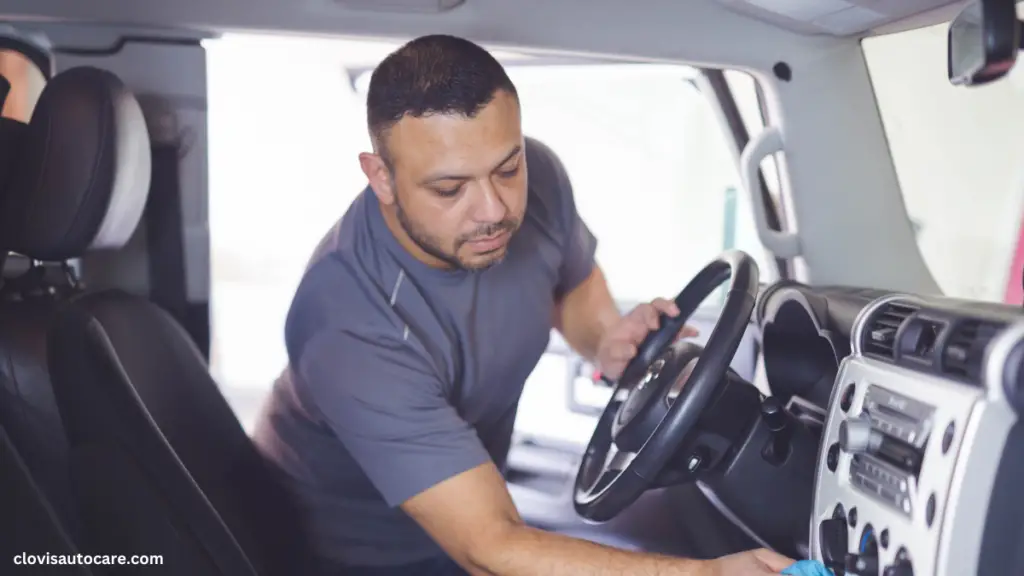
Dashboard and Console Care (20 minutes)
Your dashboard is like your car’s face—it needs special attention. For extra protection, see our guide on [How to Protect Your Car Interior from Sun Damage].
- Dust First:
- Use a slightly damp microfiber cloth.
- Wipe all surfaces gently.
- Pay special attention to air vents.
- Deep Clean:
- Spray your homemade dashboard cleaner on a cloth (never directly on surfaces).
- Clean in sections, working from left to right.
- Use your old toothbrush for buttons and tight spots.
- Don’t forget the steering wheel and gear shift.
- Protect:
- Apply a tiny bit of olive oil on a clean cloth.
- Wipe over the dashboard to prevent cracking.
- Buff with a dry cloth to remove excess.
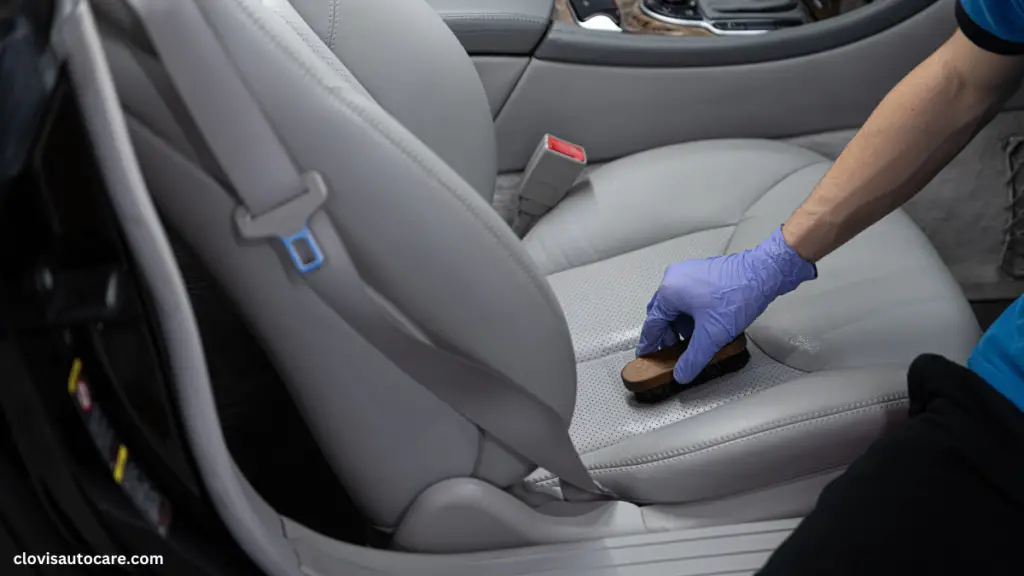
Upholstery Revival (45 minutes)
Different materials need different care. For particularly tough stains or odors, you might want to reference our detailed guide on [how to remove tough stains from car upholstery].
For Cloth Seats:
- Spray lightly with all-purpose cleaner.
- Scrub gently with a brush.
- Blot with a clean, damp cloth.
- Let air dry completely.
For Leather Seats: For detailed leather care, check out our comprehensive guide on how to clean leather car seats.
- Wipe with a damp cloth.
- Mix equal parts water and white vinegar.
- Apply with a clean cloth.
- Dry thoroughly
- Use a tiny bit of olive oil to condition
For Tough Stains:
- Mix baking soda and water into a paste.
- Apply to stain
- Let sit for 30 minutes.
- Scrub gently.
- Blot clean
Crystal Clear Windows (20 minutes)
Clean windows make your whole car look better. For specialized tips on dealing with tinted windows, see our article on [how to safely clean tinted car windows].
- Preparation:
- Roll windows halfway down.
- Clean the top edges first.
- Cleaning Process:
- Spray window cleaner on a microfiber cloth.
- Wipe in straight lines, not circles.
- Use newspaper for extra shine.
- Don’t forget the mirrors.
Floor Finish (30 minutes)
- Clean the Mats:
- Shake them out well.
- Spray with all-purpose cleaner.
- Scrub with a brush
- Rinse with water.
- Allow it to dry completely.
- Clean the Carpet:
- Spray lightly with cleaner.
- Scrub gently.
- Blot with a clean cloth.
- Let air dry
Pro Tips for Amazing Results
- Work Top to Bottom: Always start at the top and work down.
- Deal with Odors: Leave an open box of baking soda overnight. For persistent odors, check out our guide on how to eliminate car odors naturally.
- Deep Cleaning: For annual maintenance, refer to our comprehensive guide on [how to deep clean your car interior].
- Prevent Future Mess: Keep a small trash bag in your car
- Quick Cleanup Kit: Store basic supplies in your trunk for quick fixes.
- Regular Schedule: Clean your car every two weeks for the best results.
Maintaining Your Clean Car
The process of keeping your vehicle clean is a daily and weekly exercise that requires attention to detail and consistency.
Regularly washing the exterior, vacuuming the interior, and wiping down surfaces can help maintain the vehicle’s appearance and prolong its lifespan.
Daily Habits:
Keep your car clean with these daily habits, and for a more structured approach, check out our [car maintenance schedule planner]:
- Take the trash out every time you get gas.
- Keep wipes in your car for quick spills.
- Shake out floor mats weekly.
- Keep a small trash bag handy.
Weekly Quick Clean:
- Wipe dashboard and console
- Clean windows
- Quick vacuum
- Empty trash
When to Call a Pro
While DIY cleaning is great, sometimes you need professional help. Learn more about when to seek professional help in our article [signs you need professional car detailing].
- Deep stains that won’t come out
- Water damage
- Mold or mildew
- Damaged upholstery
Remember, cleaning your car isn’t just about making it look nice—it’s about creating a healthy, comfortable space for you and your passengers.
You can make your car look and feel like new with these steps and a little effort!
Keep up the excellent work, and enjoy your fresh, clean car.

Leave a Reply