Unrecognized yet vital for vehicle safety, brake pads and rotors truly are the silent guardians.
Their maintenance is often overlooked, yet they play a pivotal role in ensuring our safety on the road.
Did you know that a staggering number of accidents occur due to poor brake maintenance?
This alarming fact underscores the importance of regular checks and proper upkeep of your vehicle’s brakes and wheels.
Your driving style and the condition of the factory rotors significantly influence brake performance and overall safety.
Contents
Brake pads, rotors, brakes, and wheels are integral components that synergize to deliver optimal braking performance.
The right tools are indispensable for maintaining and replacing brake pads and rotors, drums, and other brake components.
It’s not just about having the tools; understanding their use is equally crucial. still here,
We want to help you make smart choices about the tools you use by providing information on the durability and warranty of these temperature-resistant products, the materials they are made of, their ability to dissipate heat, how they affect brake performance, and whether they may cause any noise problems.
Remember, your safety is in your hands.
Understanding Brake Pads
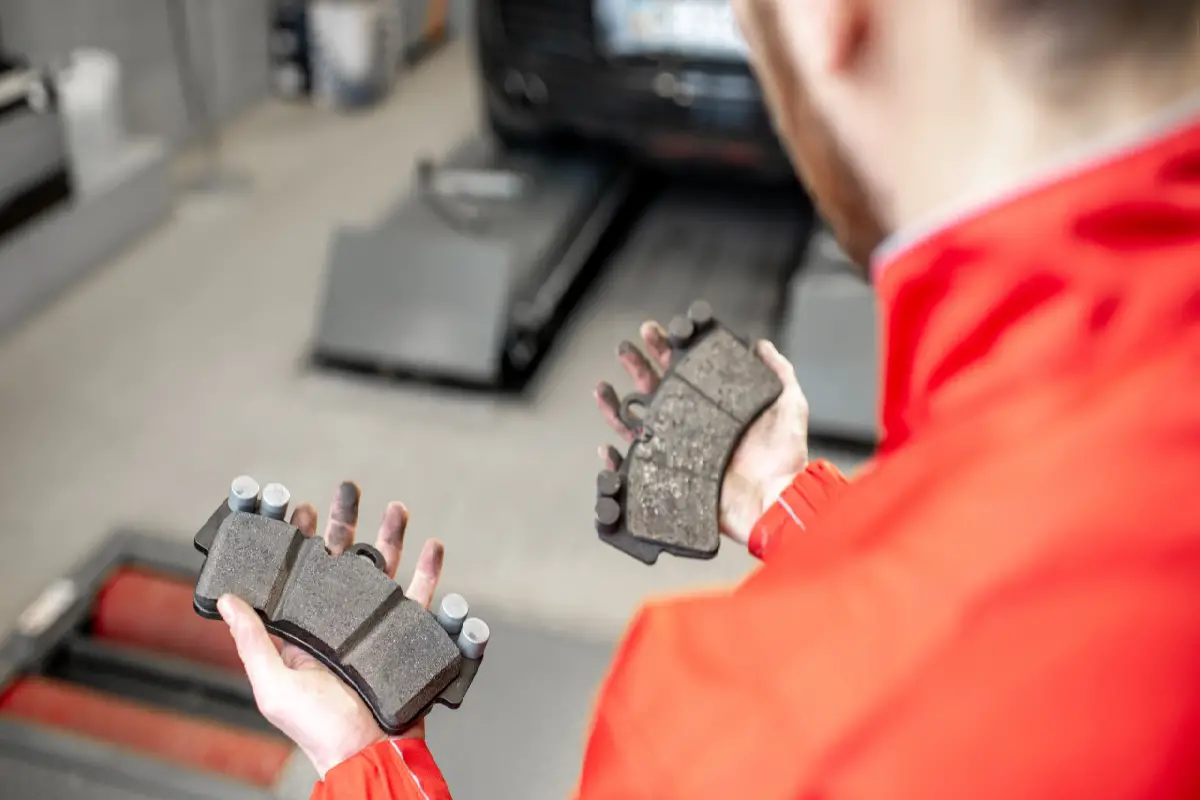
Brake pads are a critical component of your vehicle’s braking system. They are made from various materials, each offering unique characteristics that affect braking performance, noise, dust production, and durability.
When choosing brake pads, whether you opt for factory rotors or high-carbon discs with drilled holes, it’s crucial to select the right material that suits your vehicle’s needs and your driving style.
Here’s a closer look at the different types of brake pad materials:
- Metallic Brake Pads: Known for their superior quality and durability, metallic brake pads are made from a blend of metals such as iron, copper, steel, or other composite alloys. These materials can handle high temperatures and are highly resistant to wear, making metallic brake pads suitable for heavy-duty vehicles that require reliable and robust brakes. However, they can be noisier and produce more brake dust than other types.
- Organic Brake Pads: Organic brake pads are made from non-metallic fibers bonded with a high-temperature resin. The materials used can include glass, rubber, carbon compounds, or Kevlar. These pads offer a quieter and smoother braking experience compared to metallic pads. However, they tend to wear out faster and may not always meet the original equipment manufacturer’s specifications for durability or performance.
- Ceramic Brake Pads: Ceramic brake pads are composed of dense ceramic material with embedded copper fibers. This composition allows for excellent braking performance and noise reduction. Ceramic pads are known for their ability to handle high temperatures without losing efficiency, ensuring long-lasting durability. Additionally, ceramic brake pads produce less dust compared to other types, keeping your wheels cleaner.

How Brake Pads work
When you press the brake pedal, the brake pad materials come into contact with the rotors or discs attached to the wheels, providing power to cross.
This contact between the brake rotors and the brake pad surface creates friction, which converts kinetic energy into heat energy.
I guess you still remember this way back in elementary school.
The materials used in the brakes and the power applied play a crucial role in this process. The resulting friction slows down or stops the vehicle.
The power of the brakes comes from the smooth surface of the brake pad.
It grinds against the rotor’s rough surface, creating resistance that brings your car to a halt. This process can generate noise and dust.
Factors Affecting Brake Pad Lifespan
Several factors, including power and noise, can affect the lifetime warranty of your brake pads.
Driving habits play a crucial role in the lifespan of your brakes. i.e.
Aggressive driving and frequent hard braking can cause excessive wear on brake pads, leading to a shorter brake life.
Additionally, these habits can also contribute to increased noise and dust production.
Environmental conditions such as extreme temperatures, humidity, dust, power, and noise can also impact their lifespan.
The type of material used in the brake pad construction influences its longevity.
When choosing brake pads, it’s important to consider the premium quality and power of the brakes.
Importance of proper installation and break-in period
Proper installation of new premium brake pads and rotors is vital for optimal performance, power, and safety.
Noise from brakes can be reduced by ensuring a correct installation.
When you follow the instructions provided by the manufacturer, you can be confident that the brakes with a lifetime warranty will fit properly and work at their best, especially when used together with slotted brake rotors.
New premium brake pads require a break-in period where they gradually adapt to your driving style and form an optimal bond with the rotors.
This process helps reduce noise and ensures maximum power. During this period, it’s important to avoid sudden stops or excessive braking to allow for proper bedding-in of the brakes.
Use slotted brake rotors and metallic brake pads to minimize noise.
Brake Rotors Explained
Brake rotors, also known as brake discs, are a key component in the braking system of a vehicle that work in conjunction with the brake pads to slow or stop the vehicle.
They dissipate the heat generated from the friction between the pads and rotors, ensuring efficient braking performance.
Function of Brake Rotors
Brake pads and rotors are essential components for the power and effectiveness of a vehicle’s braking system. They help to reduce noise and control dust.
When you press the brake pedal, the brake pads generate friction on the rotors, producing power that slows down and stops your car.
Sometimes, there can be noise and dust when performing this procedure. The brake rotors have an important job of getting rid of the heat and energy produced during this process.
They also aim to reduce the amount of dust and noise while making sure they last a long time.
Heat and power can build up quickly when braking, and if not properly dissipated, it can lead to reduced braking performance or even brake failure.
Excessive noise, dust, and heat can also impact the lifetime of the brakes.
Types of Brake Rotors
Brake rotors are metal discs that help slow down or stop your vehicle when you apply the brakes. They come in different types, depending on their design, material, and performance.
One of the main factors that affects the type of brake rotor is the type of brake pad.
Brake pads are the components that press against the rotors to create friction and stop the wheels from spinning.
The most common type of brake pad is the metallic brake pad, which offers high power and durability.
Metallic brake pads work well with various types of brake rotors, such as:
- Solid rotors: These are flat and smooth discs that have no holes or slots. They are lightweight and inexpensive, but they can overheat easily and produce more dust and noise.
- Vented rotors: These are thicker discs that have vents or channels between the two sides. They help cool down the rotors by allowing air to flow through them. They are more suitable for heavier vehicles and reduce dust and noise.
- Slotted rotors: These have grooves or slots on the surface that help remove gas and debris from the brake pads. They also improve the grip and performance of the brake pads, especially in wet or muddy conditions. They can wear down faster and make more noise than solid or vented rotors.
- Drilled rotors: These have holes drilled into them that help reduce heat and weight. They also improve the appearance and ventilation of the rotors. They can crack or warp under extreme stress and are more expensive than other types of rotors.
Signs of Worn-out or Damaged Rotors
It’s important to be aware of signs indicating worn-out or damaged brake rotors that may require replacement.
Some common signs include squealing or grinding noises when applying brakes, vibrations or pulsations felt through the brake pedal, longer stopping distances, and visible wear or scoring on the rotor surface.
If you notice any of these signs, it’s crucial to have your brakes inspected by a professional mechanic.
OEM vs Aftermarket Rotors
OEM (Original Equipment Manufacturer) and aftermarket rotors The same company that manufactured the original parts also makes the rotors that accompany your vehicle.
They specially design these rotors for your specific make and model.
Third-party manufacturers produce aftermarket rotors, providing a broader selection of materials and designs.
Brake System Maintenance
One of the key steps in brake system maintenance is to inspect and clean your brake system components regularly.
This will help you identify any issues or damage before they become serious and affect your braking performance.
Here are some of the main components you need to inspect and clean:
- Brake fluid: Brake fluid is the hydraulic fluid that transfers the pressure from the brake pedal to the brake calipers. It also lubricates and cools the brake system. You should check the brake fluid level at least once a month and make sure it’s within the recommended range. If the fluid level is low, you need to top it up with the correct type of fluid. You should also check the color and consistency of the fluid. If it’s dark, cloudy, or has particles in it, you need to flush and replace it as soon as possible.
- Brake pads: Brake pads are the friction material that contacts the rotors and creates the braking force. They wear out over time and need to be replaced periodically. You should check the thickness of the brake pads and compare it with the manufacturer’s specifications. If they are too thin or unevenly worn, you need to replace them along with the rotors. You should also check for any signs of glazing, cracking, or contamination on the brake pads.
- Brake rotors: Brake rotors are the metal discs that rotate with the wheels and provide a surface for the brake pads to grip. They can also wear out over time and become warped, grooved, or scored. You should check the surface and thickness of the rotors and compare them with the manufacturer’s specifications. If they are too thin or damaged, you need to replace them along with the pads. You should also check for any signs of rust, pitting, or overheating on the rotors.
To clean your brake system components, you will need some basic tools and supplies, such as:
- A jack and jack stands
- A lug wrench
- A socket set
- A screwdriver
- A wire brush
- A brake cleaner spray
- A rag or cloth
Here are the steps to follow:
- Park your vehicle on a level surface and apply the parking brake.
- Loosen the lug nuts on one wheel using a lug wrench.
- Jack up that wheel and place a jack stand under it for support.
- Remove the lug nuts and take off the wheel.
- Spray some brake cleaner on a rag or cloth and wipe down the caliper, hose, pad, and rotor. Use a wire brush to remove any stubborn dirt or rust.
- Repeat these steps for each wheel.
- Reinstall the wheels and tighten the lug nuts in a star pattern.
- Lower your vehicle and remove the jack stands.
How to Replace Your Brake Fluid
Brake fluid is an essential component of your brake pads and rotors.
It transfers pressure from your pedal to your calipers, lubricates your brakes, and prevents corrosion.
However, over time, brake fluid can become contaminated by moisture, dirt, or air. This can reduce its boiling point, viscosity, and effectiveness.
To prevent this from happening, you need to replace your brake fluid at regular intervals according to your manufacturer’s specifications.
To replace your brake fluid, you will need some tools and supplies, such as:
- A jack and jack stands
- A lug wrench
- A socket set
- A screwdriver
- A wrench
- A clear plastic tube
- A small bottle or jar
- A turkey baster
- A new bottle of brake fluid (check your owner’s manual for the correct type)
- A helper
Here are the steps to follow:
- Park your vehicle on a level surface and apply the parking brake.
- Loosen the lug nuts on all four wheels using a lug wrench.
- Jack up each wheel one by one and place a jack stand under it for support.
- Remove the lug nuts and take off the wheels.
- Locate the brake fluid reservoir under the hood. It’s usually a transparent plastic container with a cap that says “brake fluid” or has a brake symbol on it.
- Use a turkey baster to suck out as much of the old brake fluid as possible from the reservoir. Dispose of it properly.
- Fill the reservoir with new brake fluid up to the maximum level mark. Do not overfill it.
- Locate the bleeder valve on each caliper. It’s usually a small metal nipple with a rubber cap on it. Remove the cap and attach one end of the clear plastic tube to the valve. Place the other end of the tube in a small bottle or jar.
- Ask your helper to sit in the driver’s seat and pump the brake pedal several times until it feels firm. Then, ask them to hold the pedal down firmly.
- Loosen the bleeder valve slightly using a wrench. You will see some brake fluid and air bubbles coming out of the tube into the bottle or jar. Tighten the valve again before your helper releases the pedal.
- Repeat this process until you see clear, bubble-free fluid coming out of the tube. Check the fluid level in the reservoir and top it up if needed. Do not let it run dry or you will introduce air into the system.
- Move on to the next wheel and repeat these steps until you have bled all four brakes. Start with the wheel farthest from the master cylinder (usually the right rear) and work your way to the closest one (usually the left front).
- Reinstall the wheels and tighten the lug nuts in a star pattern.
- Lower your vehicle and remove the jack stands.
- Check the brake pedal for firmness and responsiveness. If it feels spongy or soft, you may need to bleed the brakes again or have them checked by a professional.
- Dispose of the used brake fluid properly.
How to Perform DIY Brake System Maintenance
If you’re confident in your mechanical skills and have some basic tools, you can perform some brake system maintenance tasks yourself.
However, before you attempt any DIY brake system maintenance, make sure you follow these safety precautions:
- Always wear protective gloves, eyewear, and clothing when working on your brakes.
- Always work on a level, solid surface with good lighting and ventilation.
- Always use jack stands to support your vehicle when working under it. Never rely on a jack alone.
- Always consult your owner’s manual for specific instructions and specifications for your vehicle model and year.
- Always use quality parts and fluids that meet or exceed OEM standards.
Here are some of the DIY brake system maintenance tasks you can perform:
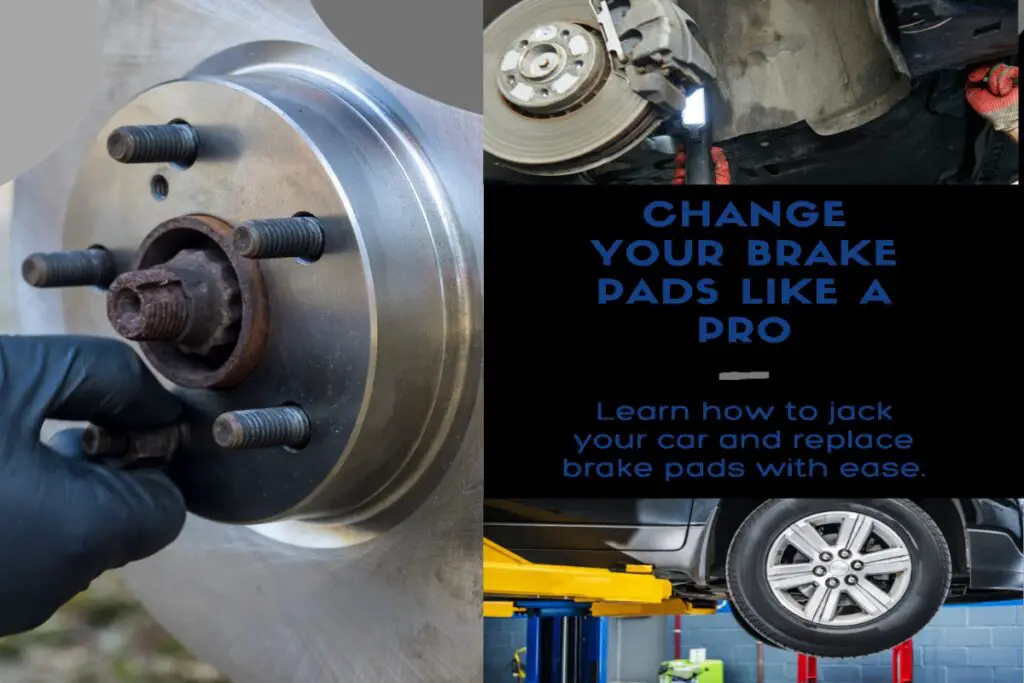
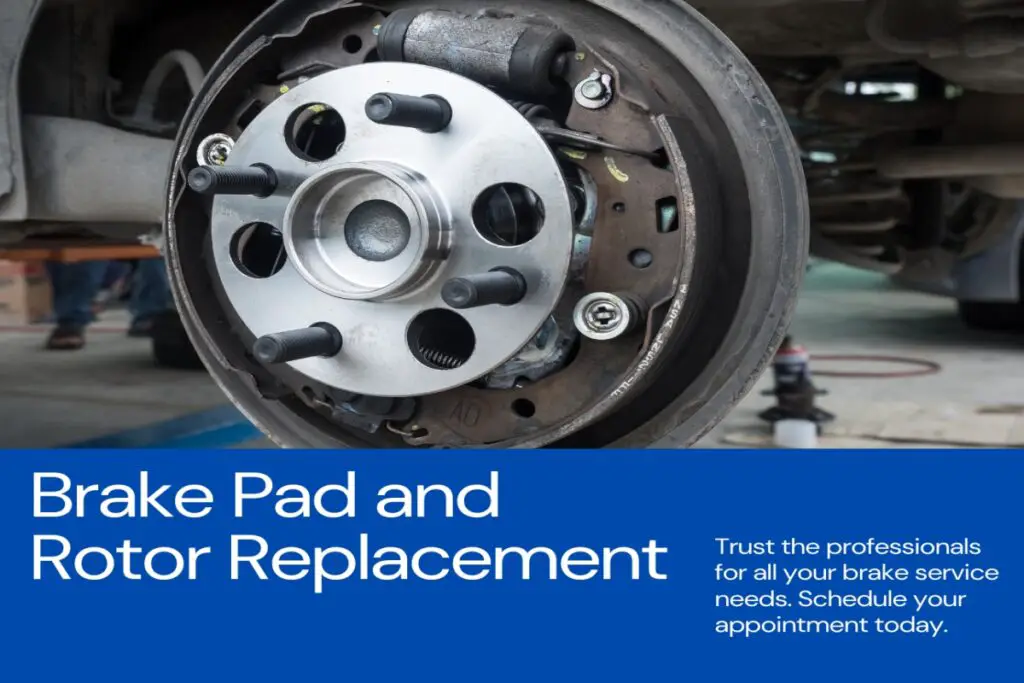
Replacing Brake Pads and Rotors
One of the most common brake system maintenance tasks is replacing worn-out brake pads and rotors.
Brake pads are the friction material that contact the rotors and create the braking force. They wear out over time and need to be replaced periodically.
Brake rotors are the metal discs that rotate with the wheels and provide a surface for the brake pads to grip.
They can also wear out over time and become warped, grooved, or scored.
To replace your brake pads and rotors, you will need some tools and supplies, such as:
- A jack and jack stands
- A lug wrench
- A socket set
- A screwdriver
- A wrench
- A C-clamp or a brake caliper tool
- A wire brush
- A brake cleaner spray
- A rag or cloth
- New brake pads and rotors (check your owner’s manual for the correct type and size)
Here are the steps to follow:
- Park your vehicle on a level surface and apply the parking brake.
- Loosen the lug nuts on one wheel using a lug wrench.
- Jack up that wheel and place a jack stand under it for support.
- Remove the lug nuts and take off the wheel.
- Locate the brake caliper that holds the brake pads against the rotor. It’s usually mounted on a bracket with two bolts or pins.
- Remove the bolts or pins that secure the caliper to the bracket using a socket or wrench. Support the caliper with a wire or a hanger to prevent it from hanging by its hose.
- Slide out the old brake pads from their slots in the caliper. You may need to pry them out with a screwdriver if they are stuck.
- Use a C-clamp or a brake caliper tool to compress (push back) the piston inside the caliper. This will create enough space for you to install new pads.
- Clean any dirt or rust from the caliper, bracket, pins, bolts, and rotor using a wire brush and brake cleaner spray.
- Install new brake pads into their slots in the caliper. Make sure they are aligned correctly with the rotor.
- Reattach the caliper to the bracket using the bolts or pins you removed earlier. Tighten them securely.
- If you’re replacing the rotors as well, remove the old rotor from the wheel hub. It may be held in place by a set screw or it may just slide off. If it’s stuck, you can use a rubber mallet to tap it loose. Clean the wheel hub with a wire brush and brake cleaner spray before installing the new rotor.
- Install the new rotor onto the wheel hub. Make sure it’s seated properly and secure it with the set screw if applicable.
- Reinstall the wheel and tighten the lug nuts in a star pattern.
- Lower your vehicle and remove the jack stands.
- Repeat these steps for each wheel.
Cost Considerations
Replacing brake pads and rotors can be a significant expense, but several factors influence the overall cost. It’s essential to consider these factors before making a decision.
- Material quality: The quality of the brake pads and rotors plays a crucial role in determining their cost. Higher-quality materials often come with a higher price tag but offer better performance and durability.
- Brand reputation: Different brands have varying price ranges based on their reputation and market demand. Well-known brands may charge more for their products due to their established reputation for reliability and performance.
- Vehicle make/model specifications: The cost of brake pads and rotors can vary depending on the specific requirements of your vehicle make and model. Some vehicles may require specialized parts that are more expensive than generic options.
- Labor charges at repair shops or dealerships: The labor charges for replacing brake pads and rotors can vary significantly between different repair shops or dealerships. It’s advisable to obtain multiple quotes to compare prices before deciding where to get the work done.
- Additional costs for rotor resurfacing or machining: In some cases, the rotors may need resurfacing or machining to ensure smooth operation with new brake pads. This additional service can increase the overall cost of replacing brake pads and rotors.
Potential savings through DIY installation versus professional service
While professional installation ensures expertise and cost around $150- $500, there is an opportunity for potential savings if you choose to install the brake pads and rotors yourself. all steps are listed above.
- Pros:
- Avoiding labor charges by doing it yourself.
- Satisfaction from completing a DIY project.
- Learn about your vehicle’s braking system.
- Cons:
- Requires technical knowledge, tools, and equipment.
- There is a risk of improper installation, leading to safety issues.
- Voiding warranties are not installed by professionals.
Considering the factors influencing the cost and weighing the pros and cons of DIY installation versus professional service will help you make an informed decision when replacing your brake pads and rotors.
Choosing Between OEM and Aftermarket Rotors
When selecting brake pads and rotors, you have the option of choosing between OEM (Original Equipment Manufacturer) or aftermarket parts.
Brake pads and rotors that come from the same company that made your vehicle’s original equipment are called OEM (Original Equipment Manufacturer) parts.
This ensures that they are compatible with your vehicle and come with warranty coverage. Aftermarket options may offer a wider range of choices in terms of design, material composition, and price.
Impact on Warranty Coverage
Using non-OEM parts like aftermarket brake discs or rotor kits may affect your warranty coverage.
Some manufacturers require that only OEM parts be used to maintain warranty protection.
It is important to check with your vehicle manufacturer or refer to your warranty documentation before opting for non-OEM components.
Conclusion
In conclusion, understanding brake pads and rotors is crucial for maintaining a safe and efficient braking system.
Brake pads play a vital role in stopping your vehicle by creating friction against the rotors.
They come in different materials, each with its own advantages and disadvantages.
On the other hand, brake rotors provide a surface for the brake pads to grip onto and dissipate heat generated during braking.
It is important to choose the right type of brake pads and rotors based on your driving needs, vehicle specifications, and budget.
To ensure optimal performance and longevity of your brake system, regular maintenance is essential.
This includes inspecting the condition of your brake pads and rotors, checking for any signs of wear or damage, and addressing any issues promptly.
Considering factors such as cost and specific rotor considerations can help you make an informed decision when purchasing new brake components.
FAQs
1. How often should I replace my brake pads?
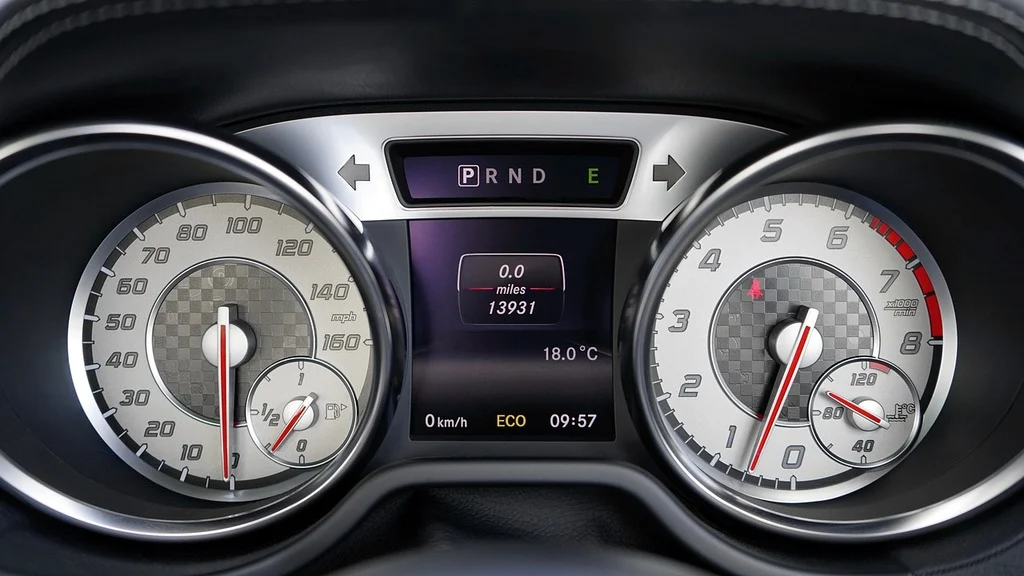
It depends on various factors, such as your driving habits, road conditions, and the quality of the brake pads used. However, as a general guideline, it is recommended to replace brake pads every 30,000 to 70,000 miles.
2. Are ceramic brake pads better than semi-metallic ones?
Ceramic brake pads offer quieter operation with less dust compared to semi-metallic ones but may be less effective at high temperatures. The choice between them depends on your priorities regarding noise reduction and overall performance.
3. Can I replace just one rotor instead of both?
While it’s possible to replace only one rotor if it’s damaged or worn out prematurely due to specific circumstances like uneven braking force distribution or severe corrosion, it’s generally recommended to replace both front or rear rotors together for balanced braking performance.
4. How much does it cost to replace brake pads and rotors?
The cost varies depending on factors such as the make and model of your vehicle, the quality of the brake components, and labor charges.
On average, you can expect to spend between $150 and $500 for a complete brake pad and rotor replacement.
5. How can I extend the lifespan of my brake pads and rotors?
To extend the lifespan of your brake pads and rotors, avoid sudden braking when possible, maintain proper tire pressure, and get regular brake inspections. Also, ensure timely replacement of brake fluid as it absorbs moisture over time, which can lead to corrosion in the brake system.
Leave a Reply