
Did you know that headlights are one of the most important safety features of your car? They help you see and be seen in the dark, fog, rain, or snow. But what happens when one of your headlights fails, especially the dipped one that you use most often? You may not notice it right away, but you are putting yourself and others in danger.
This article will show you how to avoid this common problem in BMW vehicles and how to fix it if it happens to you.
Read on to learn the causes, symptoms, and solutions of dipped headlight failure in BMWs.
Contents
Understanding Dipped Headlights
Dipped headlights, also known as low beams, passing beams, or meeting beams, play a pivotal role in providing optimal illumination for a vehicle without causing excessive glare to other road users.
This lighting configuration is specifically designed for use when other vehicles are present ahead, ensuring a balance between visibility and minimizing discomfort for oncoming drivers.
Dipped headlights play a crucial role in a BMW’s lighting system. Let’s unravel the mystery behind these essential components.
Common Causes of Dipped Headlight Failure in BMWs
When your BMW’s dipped headlights flicker or fail, various culprits may be at play. Here are some common causes that led to such a blackout:
- Burnt Out Bulbs: Shedding light on the role of bulbs and their lifespan
- Electrical Issues: Navigating the Complexity of electrical components
- Faulty Headlight Switch: Understanding the switch’s impact on headlight functionality
- Damaged Wiring: Untangling the Consequences of Worn-Out or Damaged Wiring
Signs of Dipped Headlight Failure
How do you know if your BMW is experiencing dipped headlight failure? Recognize the signs to address issues promptly.
- Inconsistent Lighting:
- One of the initial signs of dipped headlight failure manifests as inconsistent lighting. This phenomenon can present itself as uneven brightness levels between the two headlights or within a single unit. The illumination may fluctuate, causing an unreliable lighting pattern on the road.
This inconsistency in brightness not only compromises your visibility but also poses a risk to other drivers. When faced with such irregular lighting, it’s essential to investigate promptly.
The root cause could range from a failing bulb, issues with electrical connections, or more complex problems within the headlight assembly. - Flickering Lights:
- Understanding the nuances of flickering headlights is crucial in identifying dipped headlight failure. Flickering lights can manifest intermittently or persistently, creating a distracting and potentially hazardous situation while driving. The causes of flickering headlights can be diverse, ranging from simple issues like loose connections or a failing bulb to more complex electrical problems within the vehicle’s system. When faced with flickering lights, it’s advisable to investigate promptly to prevent further complications. Start by checking for loose or corroded connections, ensuring that the bulbs are securely in place. If the issue persists, it may be indicative of a more intricate electrical problem, necessitating the expertise of a qualified technician. Timely attention to flickering lights can prevent complete headlight failure and enhance overall road safety.
- Complete Loss of Light: Perhaps the most concerning sign of dipped headlight failure is the complete loss of light. Finding yourself in total darkness on the road poses significant risks to your safety and that of others. This situation demands immediate attention and corrective action. Navigating the challenges of total darkness requires a systematic approach. Begin by checking the obvious culprits, such as burnt-out bulbs or a blown fuse. If the issue persists, delve into more intricate components like the headlight switch or wiring. Addressing a complete loss of light promptly is imperative. Safely pull over to the side of the road if possible, and seek professional assistance to diagnose and rectify the issue. It’s essential to prioritize safety in such circumstances, and driving without proper illumination should be avoided at all costs.

How to Diagnose Dipped Headlight Failure
Become your BMW’s detective when it comes to headlight issues. Explore practical methods for diagnosis.
- Visual Inspection: A hands-on approach to identifying visible problems
- Use of Diagnostic Tools: Leveraging technology to pinpoint underlying issues
- Consulting with a Professional: Knowing When to Seek Expert Advice
Steps to Fix Dipped Headlight Failure in BMW
Once diagnosed, it’s time to roll up your sleeves and address the problem head-on.
Replacing the Bulb:
- Replacing a burned-out bulb is often a straightforward process. Consult the owner’s manual for specific instructions and ensure the replacement bulb matches the vehicle’s specifications.
- Tools and Materials: Replacement bulb, screwdriver, socket wrench (if necessary)
- Steps:
- Turn off the vehicle and allow the headlights to cool down completely.
- Access the headlight housing by removing the headlight cover or loosening the headlight assembly.
- Locate the burnt-out bulb and carefully detach it from the headlight socket.
- Install the new bulb into the socket, ensuring proper alignment and connection.
- Reinstall the headlight cover or secure the headlight assembly.
- Test the newly installed bulb by turning on the dipped headlights.
Checking and Replacing the Fuse
Locate the fuse box and identify the fuse responsible for the dipped headlight. Check for signs of damage or discoloration, and replace it if necessary.
The FRM Module controls the power for different parts of your BMW, including the low-beam headlights. It has four fuses (F41, F81, F84, and F86) that you can check if your headlights are not working.
The FRM Module sends power directly to each low-beam headlight through a yellow or blue wire, and each headlight has a brown wire that connects to the ground. You can use a multimeter to test if these wires are working properly.
The yellow or blue wire should have 12 volts of power when switched on, and the brown wire should have continuity to the ground.
You can find these wires at the connector X13421, which is located near the headlight. The pin number 3 is for the yellow/blue wire, and the pin number 4 is for the brown wire.
Repairing or replacing wiring
- Troubleshooting wiring issues may require specialized expertise. If suspected, consult a qualified auto electrician for proper diagnosis and repair.
- Damaged or corroded wiring can hinder the flow of electricity to the dipped headlight, effectively disabling its functionality.
- Symptoms: One dipped headlight may not work, while the other functions normally.
- Solution: Inspect the wiring harness for signs of damage, corrosion, or loose connections. Seek assistance from a qualified auto electrician if necessary.
- Tools and Materials: Multimeter, wire strippers, electrical tape
When to Seek Professional Help:
Sometimes, the challenges that affect your dipped headlights may be too complex or severe for you to handle by yourself.
In such cases, you should seek professional help from a qualified technician or a reputable garage. Some of the situations that may require professional help are:
- Failed ECM (electronic control module): The ECM is the computer that controls the various functions of your car, including the dipped headlights. It can fail due to various reasons, such as age, wear and tear, voltage fluctuations, water damage, or physical impact. If your ECM fails, it can cause your dipped headlights to stop working or behave erratically. You can diagnose a failed ECM by using a diagnostic tool or by checking for symptoms such as reduced performance, increased emissions, or warning lights on the dashboard. However, fixing a failed ECM is not a simple task, as it requires removing the whole dash, installing a new part, and coding it to match your car. This is a job that should be done by a professional, as it involves specialized tools and skills. One user reported that their ECM had failed and that it was not cheap to fix either.
- Damaged headlight unit: The headlight unit is the part that houses the bulb, the lens, the reflector, and the wiring of your dipped headlights. It can get damaged due to various reasons, such as accidents, vandalism, weather, or debris. If your headlight unit is damaged, it can affect the quality and direction of your dipped headlights or prevent them from working altogether. You can check the headlight unit by visually inspecting it for any signs of cracks, condensation, or misalignment. However, replacing a damaged headlight unit is not an easy task, as it requires removing the bumper, the grille, and the headlight assembly and installing a new unit that matches your car. This is a job that should be done by a professional, as it involves delicate and precise work. One user reported that their headlight unit was damaged and that it was expensive to replace.
Faulty headlight switch: The headlight switch is the part that allows you to turn on and off your dipped headlights, as well as adjust their brightness and direction.
It can fail due to various reasons, such as age, wear and tear, corrosion, or moisture.
If your headlight switch fails, it can cause your dipped headlights to not respond to your commands or to work intermittently or randomly.
You can diagnose a faulty headlight switch by using a multimeter or a test light or by checking for symptoms such as flickering, dimming, or no response from your dipped headlights.
However, fixing a faulty headlight switch is not a straightforward task, as it requires removing the steering column, the instrument panel, and the switch assembly and installing a new switch that fits your car.
A professional should do this job, as it involves complex and delicate work. One user reported that their headlight switch was faulty and that it was difficult to fix.
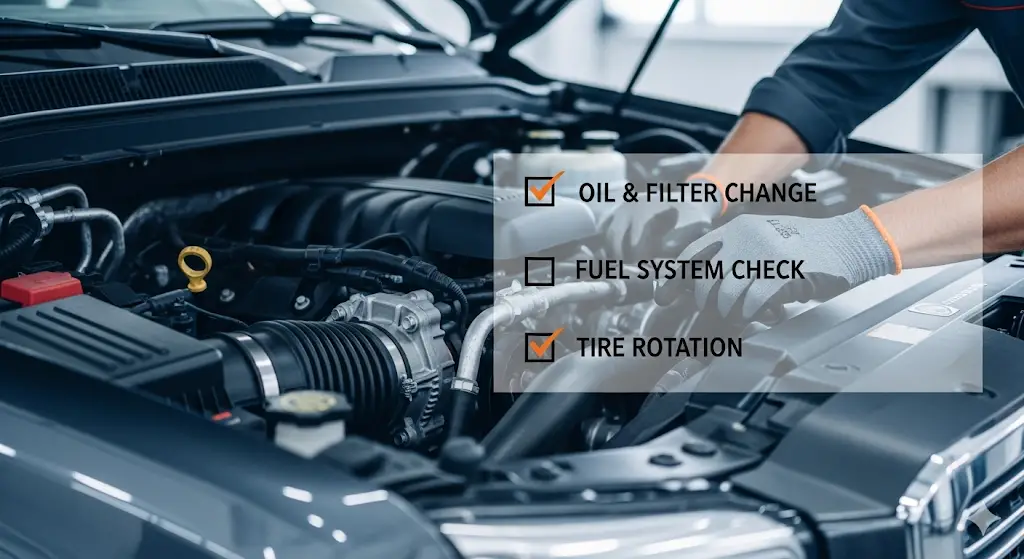
Preventive Measures and Maintenance Tips
Keep dipped headlight failure at bay with proactive measures and routine maintenance.
- Regular Checks and Maintenance: Establishing a routine for Optimized headlight health
- Importance of Quality Replacement Parts: Choosing components that stand the test of time
- When to Consult a Professional: Recognizing when expertise is essential

Conclusion
Dipped headlight failure in BMW vehicles can stem from various causes, ranging from simple bulb burnout to complex electrical faults.
While some issues can be addressed with basic DIY techniques, others may require the expertise of a qualified auto electrician.
Regular maintenance and prompt attention to irregularities can help prevent dipped headlight failure and ensure safe and illuminated journeys.
FAQs
1. How often should I check my BMW’s headlights for issues?
Check your BMW’s headlights monthly for any issues. If you find any, fix them yourself or go to a BMW technician. Your headlights are vital for your safety and others’
2. Can I replace a burnt-out bulb myself?
Yes, you can replace a burnt-out bulb yourself, depending on the type of bulb, the model of your BMW, and your level of skill and confidence. Some bulbs are easier to access and replace than others, and some may require removing the headlight unit or other parts of the car
3. What should I do if I notice flickering headlights?
Flickering lights can indicate various issues. Begin by checking for loose connections and consulting a professional if the problem persists.
4. How much does it cost to repair a dipped headlight failure in a BMW?
The cost of repair depends on the underlying cause of the failure. Replacing a bulb is relatively inexpensive, while fixing wiring issues or replacing ballasts or control modules can be more costly. Consult a qualified mechanic for an accurate estimate.
Leave a Reply