

Buckle up, car enthusiasts! It’s time to roll up your sleeves and dive into the world of DIY interior detailing.
Did you know that the average American spends about 17,600 minutes driving each year? That’s a lot of time in your car’s cabin! This can lead to the accumulation of dust, dirt, and grime within the car.
Detailing the interior involves emptying the passenger cabin, the trunk, and the cargo areas.
Over the years, our desire to make our cars a second home has led to an increase in the use of wood, carbon fiber composites, vinyl, leather, and plastic in car interiors.
These various car components necessitate unique auto detailing techniques and the right interior detailing kits.
With these 15 DIY auto detailing tips, you’ll turn your ride into a pristine sanctuary that’ll make even professional detailers green with envy.
Would you like to impress your passengers and re-love your car?
Contents
Gathering the necessary tools is crucial before you begin the car’s interior shine process, as it will simplify the detailing process. Below are my preferred:
- Vacuum cleaner with attachments
- Microfiber towels and cleaning cloths
- Soft-bristle brushes
- All-purpose cleaner
- Upholstery cleaner
- Leather cleaner and conditioner
- Glass cleaner
- Interior protectant
- Use an air compressor or canned air for areas that are difficult to reach.
1. Start with a Clean Sweep: Mastering the Art of Vacuuming
To kick off your journey into vehicle deep cleaning, begin with the basics: thorough vacuuming.
This initial step is crucial for removing the everyday accumulation of dirt and debris, including everything from dust to forgotten bits of food.
Beginning with a fresh start guarantees the effectiveness and ease of deeper cleaning tasks.
Remove all floor mats and loose items.
Use a crevice tool for hard-to-reach areas.
Don’t forget to vacuum the trunk.
Tip for stubborn debris: Use a stiff brush before vacuuming.
2. Tackle Those Pesky Stains: DIY Upholstery Cleaning Hacks
Next, focus on the upholstery, an area often plagued by stains and spills.
Whether it’s a coffee mishap or muddy paw prints, tackling these spots with DIY solutions can restore the pristine look of your vehicle’s interior.
This step not only improves aesthetics but also helps maintain the fabric’s integrity over time. To help you achieve this effectively,
Create a homemade cleaning solution.
Before full application, spot-test cleaners.
Use a microfiber cloth for gentle scrubbing.
Steam cleaning for deep-set stains.
3. Leather Love: Proper Care for Luxurious Interiors
To keep leather interiors looking luxurious and well-maintained, special leather seat care is required.
Using the right automotive cleaning products and techniques can prevent the leather from drying out and cracking, thus extending the life and beauty of your car’s interior shine.
Regular maintenance or leather conditioning also helps retain the vehicle’s value and appeal.
Choose the right leather cleaner.
Apply conditioner to prevent cracking.
For textured leather, use a soft-bristled brush.
Protect leather from direct sunlight.
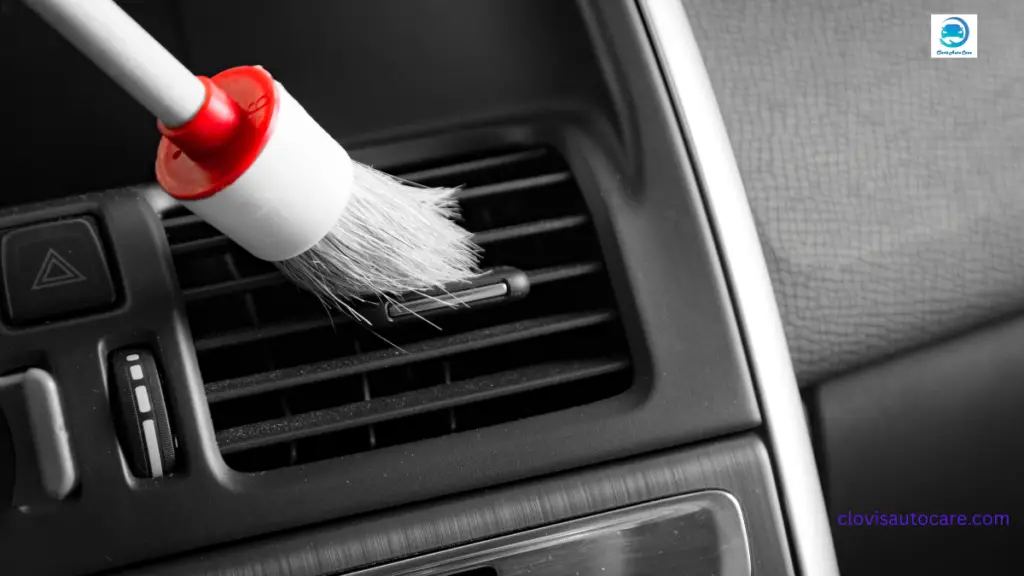
4. Dashboard Detailing: Bringing Back the Shine
The dashboard is one of the first things people notice inside your car, making its care crucial for a favorable impression.
Regular cleaning and protection from the sun’s harmful rays can prevent fading and cracking, ensuring that the dashboard remains vibrant and functional for years to come.
Cleaning the dashboard is similar to cleaning other car parts.
My only advice is that when performing vehicle disinfection or dashboard cleaning, avoid harsh chemicals as they may result in a blurry dashboard look, which is not the best for the road ahead.
Dust first with a microfiber cloth.
Use appropriate cleaners for different materials.
Apply a protectant to prevent UV damage.
Don’t forget air vents and gauge clusters.
5. Crystal Clear Windows: Streak-Free Cleaning Techniques
Clear windows are essential for both safety and aesthetics and cannot be excluded in the car interior restoration process.
If your car’s windshield, side windows, and side mirrors are not clear from the inside, it can ruin your entire day in an instant.
When it comes to the windows and the windshield, the first thing to note is that not using the right product can lead to tint damage.
For instance, using ammonia-based glass cleaners can cause damage to the car.
Use automotive glass cleaner.
Employ the two-towel method.
You should clean in circles first, then in straight lines.
Don’t forget about the window tops.
6. Banish Bad Odors: Natural Freshening Methods
A fresh-smelling car can make all the difference in how enjoyable your driving experience is.
Natural methods for odor elimination are safe for you and the environment, and they can effectively remove unwanted smells without using harsh chemicals.
We use baking soda to absorb odors.
Essential oils for a pleasant scent.
charcoal bags for ongoing odor control.
Deep-clean the source of persistent smells.
7. Headliner Helpers: Gentle Cleaning for Delicate Surfaces
Regular cleanings often overlook the headliner, or ceiling, of the car, despite its significant capacity to collect dirt and odors.
Gentle cleaning techniques can refresh this area without damaging the material, helping to maintain an overall clean appearance inside your vehicle.
Use a light touch to avoid damage.
Employ foam cleaners for safe cleaning.
Spot clean stains with a diluted all-purpose cleaner.
To prevent mold, allow a proper drying time.
8. Console and Cup Holder Clean-Up
The center console and cup holders are high-traffic areas that accumulate dust, spills, and debris.
Cleaning these areas not only enhances the car’s interior appearance but also improves functionality, preventing sticky residues and ensuring that these spaces are hygienic and pleasant to use.
Use cotton swabs for tight spaces.
Remove and wash the removable cup holders.
Apply a protectant to prevent future staining.
Don’t forget to clean under the console lid.
9. Pedal to the Metal: Cleaning Floor Mats and Carpets
Floor mats and carpets bear the brunt of daily wear and tear in your vehicle.
Regular cleaning removes dirt and stains that can become ingrained over time, helping to maintain the car’s interior in top condition and preventing odors from becoming entrenched in the fabric.
Shake out floor mats before cleaning.
For deep cleaning, use a carpet cleaner.
Brush carpets to revive fibers.
To prevent mildew, allow thorough drying.
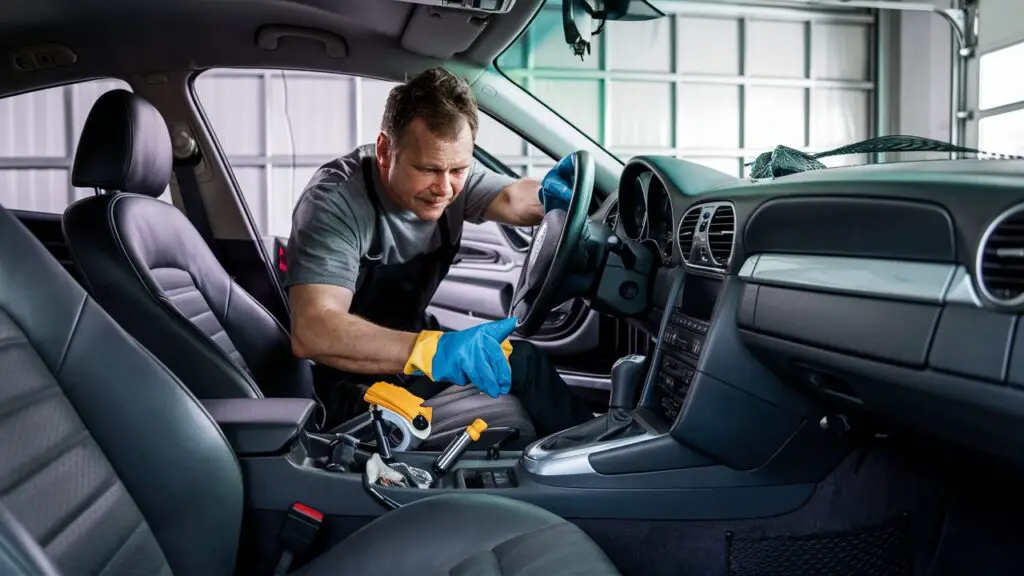
10. Steering Wheel Revival: Safe Cleaning for Your Command Center
The steering wheel is one of the most frequently touched parts of the car, making its cleanliness crucial for both hygiene and wear.
Using the right cleaning products based on the material, whether leather or plastic, ensures that the steering wheel is not only clean but also preserved from damage.
Choose cleaners based on material (leather, plastic, etc.).
Pay attention to textured grips.
Don’t oversaturate to protect internal electronics.
Apply a protectant to frequently used areas.
11. Seat Belt Sanitation: Often Overlooked but Crucial
Seat belts are vital for safety but can harbor dirt and bacteria. Regular cleaning ensures that they function properly and are safe to use, which is essential for protecting you and your passengers.
This step also helps maintain the material’s integrity and appearance.
Use a gentle, non-toxic cleaner.
For a thorough cleaning, fully extend the seat belts.
Allow it to dry completely before retracting.
After cleaning, ensure proper operation.
12. Doorjamb Detailing: The Secret to a Truly Clean Car
Cleaning the door jambs might not be the first task that comes to mind, but it’s crucial for preventing rust and ensuring that doors close properly.
This often-neglected area can accumulate a surprising amount of dirt and grime, which can affect the overall cleanliness and functionality of your vehicle.
Remove built-up grime with an all-purpose cleaner.
Lubricate hinges and latches.
Make sure to clean the weather stripping to ensure proper sealing.
Apply a protectant to prevent future buildup.
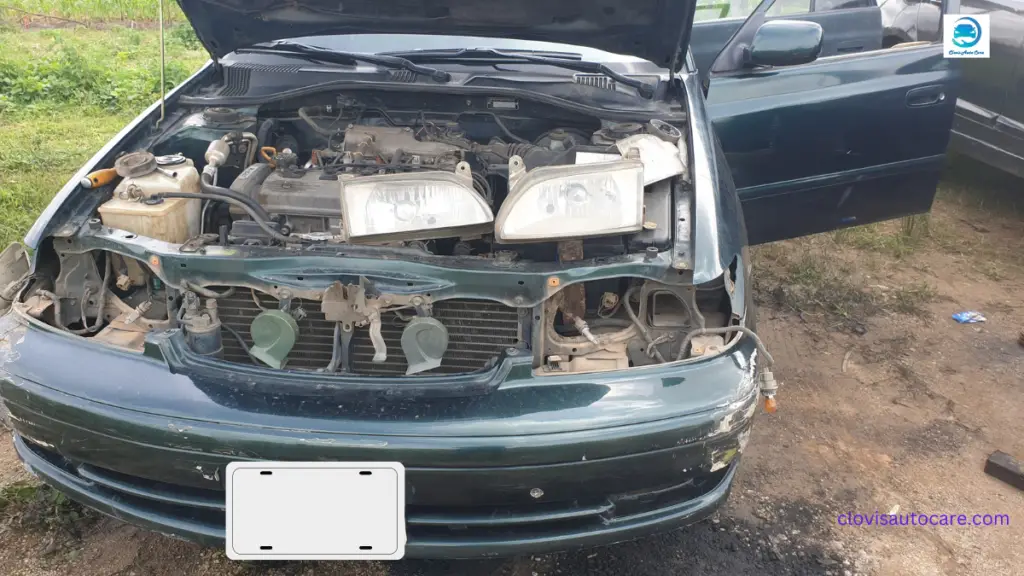
13. Headlight and Taillight Interior Cleaning
Keeping your headlights and taillights clean is not just about aesthetics—it’s also a safety issue.
Proper maintenance ensures that your lights are bright and effective, providing you with the best possible visibility during night driving and inclement weather conditions.
Remove any accumulated dust.
Look for and address any moisture problems.
To avoid scratches, gently clean.
Ensure all lights are functioning properly.
14. Tech Touch-Up: Safely Cleaning Screens and Buttons
Today’s vehicles feature an array of electronic screens and buttons that require careful cleaning to avoid damage.
By using the right tools and techniques, we can keep these sensitive components in optimal condition, enhancing both their functionality and lifespan.
Use electronic-safe cleaning wipes.
On screens and controls, avoid liquid cleaners.
For stubborn spots, gently wipe with microfiber.
Don’t forget to clean remote controls and key fobs.
15. The Final Touch: Organizing and Decluttering
The final step in your DIY interior detailing journey is organizing and decluttering.
This not only improves the appearance of your car’s interior but also enhances your overall driving experience.
Regularly removing unnecessary items and organizing essentials can make your vehicle a more pleasant and efficient space.
Install organizers for frequently used items.
Create a minimalist glove compartment.
Use trunk organizers for emergency supplies.
Establish a regular clean-out routine.
Conclusion
There you have it, folks! These 15 DIY interior detailing tips are your ticket to a car cabin that’s not just clean but downright spectacular.
Remember, a little elbow grease goes a long way, and the pride you’ll feel driving your freshly-detailed car is worth it.
So why wait? Grab your cleaning supplies and turn that daily driver into a rolling oasis. Your car (and your passengers) will thank you. Now, who’s ready to show off their newly spotless ride?

Leave a Reply