
The coronavirus emergency temporarily stopped cars, but the world has since slowly recovered. Since then, car care has become a requirement. It is a beneficial idea to check your car before starting it again.
It’s a useful idea to clean the tires after checking the battery and fluid levels. Cars’ interior comfort, in addition to their design, performance, and materials, is a crucial aspect of any car.
If you want to sell your car or keep it in excellent condition, don’t neglect the interior.
This article will help you with the step-by-step guide to car dashboard cleaning.
Contents
Essential Tools and Products for Dashboard Detailing
Before we dive into the nitty-gritty of car interior detailing, let’s gather our automotive detailing supplies.
- Microfiber cloths for cars: These are essential for gentle yet effective cleaning.
- Soft-bristled brushes: perfect for tackling textured surfaces and hard-to-reach areas.
- Best dashboard cleaner: Choose one specifically formulated for your dashboard material, like the Chemical Guys products or Meguiar’s products
- Dashboard protector: This will help maintain the showroom’s shine and protect against UV damage.
- Compressed air: ideal for blasting debris from vents and crevices.
Having these tools on hand will ensure you’re well-equipped for a thorough dashboard cleaning session.
preparing your dashboard for a deep clean
Now that we’ve got our car cleaning products ready,
Follow these steps to set yourself up for success:
- Remove all loose items from your dashboard and surrounding areas.
- Thoroughly vacuum the entire dashboard area to remove loose dirt and debris.
- Use compressed air to clean out air vents and tight spaces—this is a crucial car air vent cleaning step often overlooked.
- Identify your dashboard material (vinyl, leather, or plastic) to ensure you use the appropriate cleaning methods and products.
These preparatory steps will set the stage for an effective dashboard cleaning process. The initial phase is critical for achieving the best shine results you want, and it helps prevent any damage during the main cleaning phase.
Are you ready? Let’s go.
The step-by-step car dashboard cleaning process
Now that we are ready, let’s dive into the heart of our car interior detailing adventure. This comprehensive process will transform your dashboard from drab to fab if you follow judiciously.
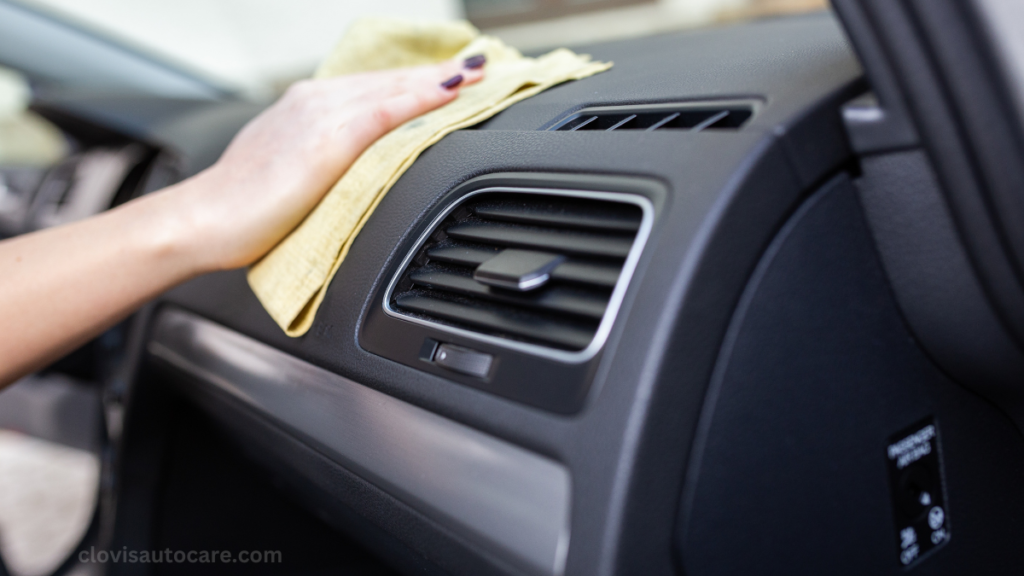
- Apply your best dashboard cleaner to a microfiber cloth rather than directly on the dash. This prevents oversaturation and potential damage to electronic components.
- Work in small sections, using circular motions. This beginner car detailing tip ensures you don’t miss any spots and helps you lift dirt effectively.
- Pay extra attention to frequently touched areas like the steering wheel and gear shift. These spots often harbor the most grime and bacteria, making them crucial for both aesthetics and hygiene.
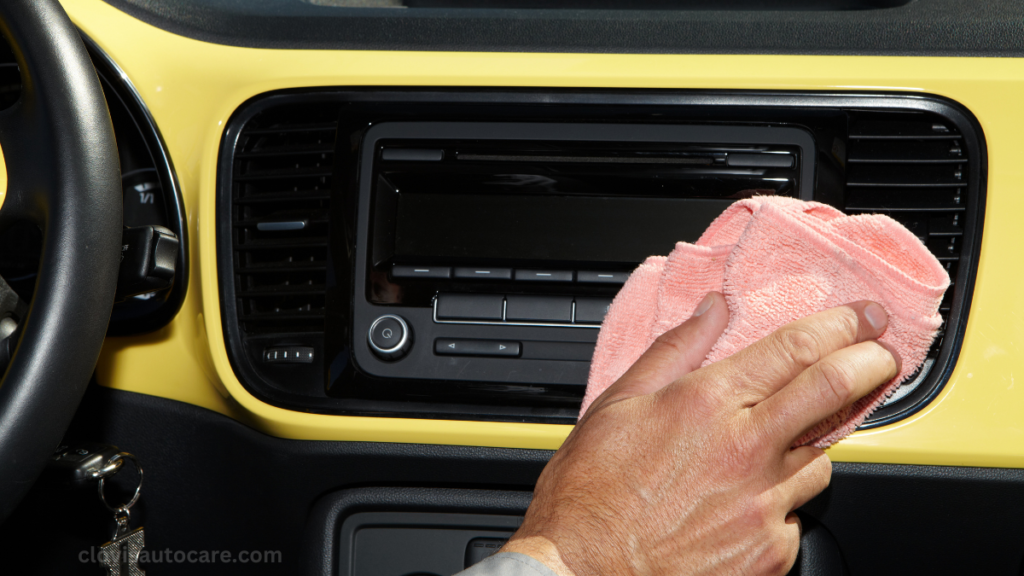
- When it comes to your gauge cluster and infotainment screen, exercise caution. These areas require special care:
- Use a cleaner specifically designed for electronic displays.
- Gently wipe with a microfiber cloth, avoiding circular motions to prevent micro-scratches.
- For stubborn fingerprints, slightly dampen your cloth with distilled water.
- Don’t forget about those often neglected areas like the cup holders, and the center console can become grime magnets. Here’s how to tackle them:
- To make cleaning easier, remove any removable parts.
- Use a soft bristled brush to dislodge debris from crevices.
- For sticky residue, a solution of warm water and mild soap can work wonders.
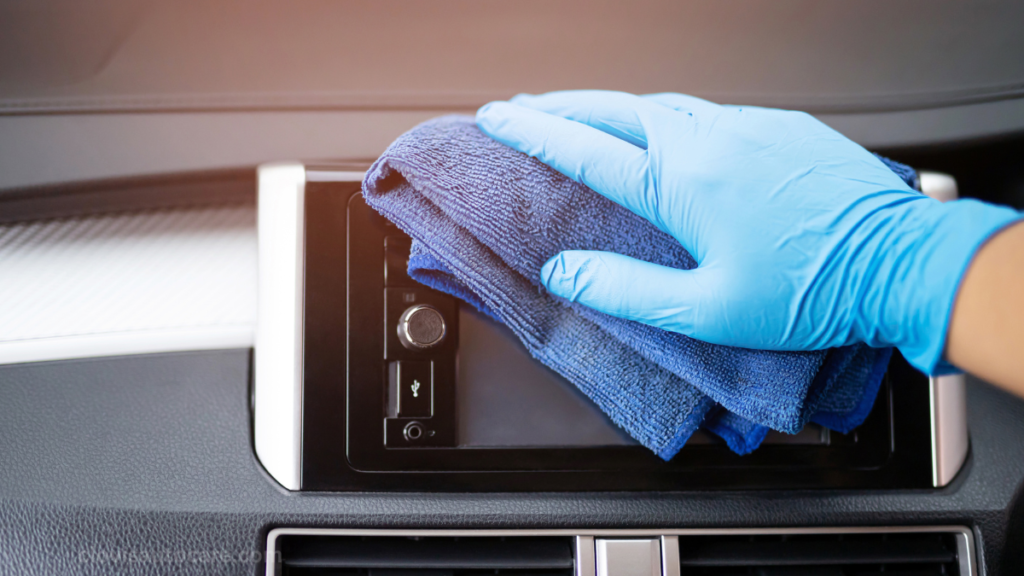
To clean the infotainment system touch screen, first turn off the car and the system. Then, use a clean, slightly damp microfiber cloth to gently wipe the screen.
To avoid damaging the electronics, be careful not to use too much water on the cloth. For stubborn stains or persistent fingerprints, you can use a specific screen cleaner or a microfiber cloth slightly dampened with water.
Car interior restoration is a process. Take your time with each step to achieve the best results.
Tackling stubborn stains and grime
Even with regular maintenance, your dashboard might fall victim to stubborn stains or built-up grime. However, don’t worry; these automotive cleaning hacks will help your inquisitiveness going forward.
- For general tough spots, create a cleaning solution using mild soap and warm water. This gentle yet effective mixture is perfect for most dashboard cleaning challenges.
- When dealing with textured surfaces, a soft-bristled brush is your secret weapon. Use it to gently agitate the cleaner and lift dirt from those tiny crevices.
- Pen marks or ink stains can pose a significant challenge to a dashboard. Here’s how to handle them:
- For leather dashboards, try a leather-specific cleaner or a small amount of non-acetone nail polish remover.
- On vinyl or plastic, a magic eraser can work wonders—but always test on an inconspicuous area first.
- Are you experiencing sticky residue from old stickers or decals? Here’s a professional car detailing secret:
- Apply a small amount of olive oil or commercial adhesive remover to the area.
- Let it sit for a few minutes to soften the adhesive.
- Use a plastic card or your fingernail to gently scrape away.
- Clean the area thoroughly afterward to remove any oily residue.
- For those mysterious, unidentified stains, try this step-by-step approach:
- Start with the mildest cleaning method and gradually increase intensity if needed.
- First, always spot-test cleaners in smaller areas.
- For really tough stains, consider using a steam cleaner; the heat can help lift stubborn marks with ease.
Over time, plastic and tough rubber dashboards can become sticky and rough to the touch due to temperature changes or constant exposure to the sun.
To polish a sticky car dashboard, you need to use a sponge, a degreaser, and water. First, you will have to clean the dashboard from dust with a damp cloth, and then with a sponge moistened with water and a degreaser.
It will be necessary to repeat the operation several times until the dashboard becomes smooth. It will then have to be dried with a soft cloth.
Applying Protectant for a Long-Lasting Shine
Now that your dashboard is sparkling clean, it’s time to lock in that perfect shine and protect your hard work. For dashboard maintenance and longevity, applying a quality protector is critical.
- Choose the right protectant:
- Research has proven that UV protection for car interior products prevents fading and cracking on vinyl dashboards.
- Leather dashboards benefit from specific leather conditioners that nourish and protect.
- For plastic dashboards, a general-purpose interior protectant works well.
- Application process:
- Always start with a clean, dry surface.
- Apply the protectant evenly using a clean microfiber cloth.
- Work in small sections to ensure complete coverage.
- Pay extra attention to areas frequently exposed to sunlight.
- Allow the protector to settle for a few minutes.
- Follow the product’s instructions for optimal absorption time.
- This step is crucial for deep conditioning and maximum protection.
- Buff off excess product:
- Use a clean, dry microfiber cloth to remove any excess.
- This prevents a greasy finish and ensures a natural, matte look.
- For added protection:
- Consider applying a second thin coat to high-wear areas.
- For optimal dashboard care, reapply protectant every 4–6 weeks.
Maintaining your newly detailed dashboard
Proper maintenance is key to keeping that fresh, clean look on the just-cleaned dashboard. Below are some car detailing best practices for long-term care:
- Establish a regular cleaning routine:
- Aim for weekly quick wipes with a microfiber cloth.
- Use a dashboard dust removal spray for light cleaning between deep cleans.
- To avoid set-in marks, clean the area in a circular motion.
- Protect against UV damage:
- Use sunglasses when parking outdoors for extended periods.
- Consider applying UV protection to car interior products every few months.
- Regularly check for signs of fading or cracking, especially in high-sun areas.
- Minimize future mess:
- Avoid eating in your car to reduce crumbs and potential stains.
- Keep a small cleaning kit in your car for quick touch-ups.
- Use air fresheners that don’t leave residue on your dashboard.
- Seasonal care:
- In winter, allow your car’s interior to warm up gradually to prevent dashboard cracking.
- During summer, use reflective sun shades to keep your dashboard cool.
- Professional touch:
- Consider having a professional car interior deep cleaned every year.
- This can help address issues you might miss and maintain your car’s value.
- Monitor and adjust:
- Pay attention to how different products affect your dashboard over time.
- Be prepared to adjust your cleaning routine based on your car’s specific needs.
Mistakes to avoid when cleaning the dashboard
Steer clear of abrasive products not specifically intended for cleaning car interiors. If you use homemade cleaners, be careful not to use too diluted or too concentrated.
If there is sticky material, such as resin, on the dashboard and it is still soft, avoid using your finger to scrape it off, as this could spread the material further onto the bodywork.
Another mistake to avoid is spraying cleaning products directly onto plastics. Avoid this to prevent leaving an excessive amount of detergent on the dashboard, which could create halos.
Therefore, use microfiber cloths moistened with detergents.
To polish the dashboard, do not rub the cloth too vigorously; perhaps with disinfectant detergents, but not for giving shine.
There are products specifically designed to make the interior surfaces of the car shine without being aggressive.
Leave a Reply