A mechanic friend once told me a story that made me almost cry from frustration.
A driver’s brake fluid had completely run out, but he didn’t know. He kept pressing the brake pedal harder and harder, but the car wouldn’t stop.
He crashed straight into a wall.
When my friend arrived thinking it was a complex brake system failure, he was shocked.
The reservoir was bone dry.
No brake fluid at all.
The experienced mechanic had to use 7-Up from a nearby store just to get enough fluid to drive the car to the shop.
That wall crash could have been prevented with a 30-second fluid check.
After more than 15 years of dealing with cars, I’ve seen small fluid problems escalate into major disasters.
The good news? To check car engine fluids takes less time than making coffee and can save you thousands in repairs.
Your car has six critical fluids that keep everything running smoothly. When these fluids run low or become contaminated, problems can cascade quickly.
Ranging from,
Dashboard lights start glowing,
Performance drops,
Eventually, something breaks.
Here are the basic steps to self-check each fluid and catch problems before they catch you.
Contents
Now is the time to catch up on the vehicle maintenance, service, and repairs you may have put off. Doing so will increase your car’s value, allowing you to get top dollar when it’s time to trade or sell in the future.
said Matt DeLorenzo, senior managing editor for Kelley Blue Book.
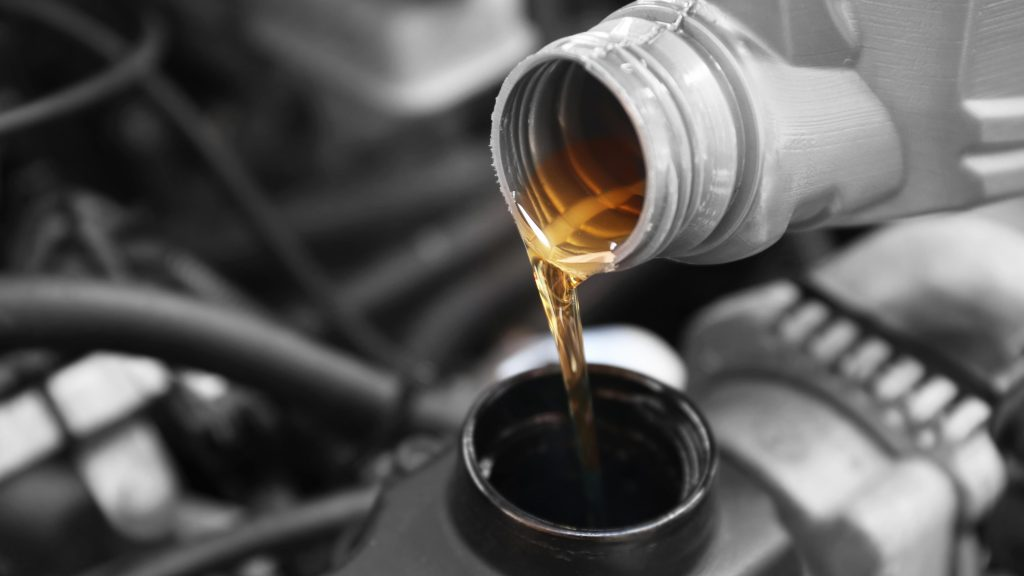
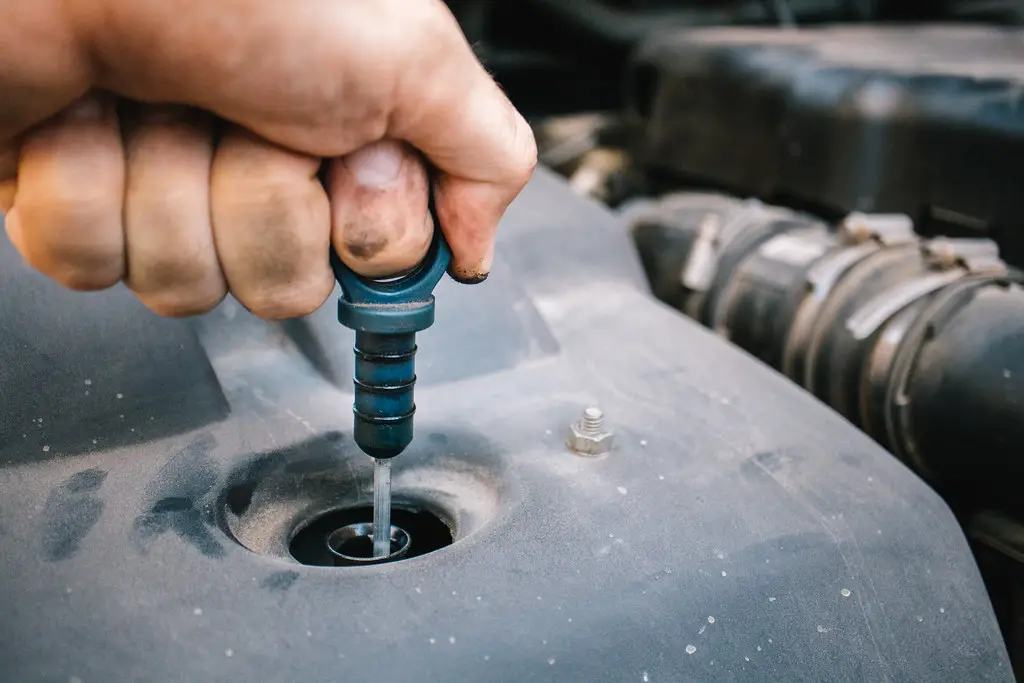
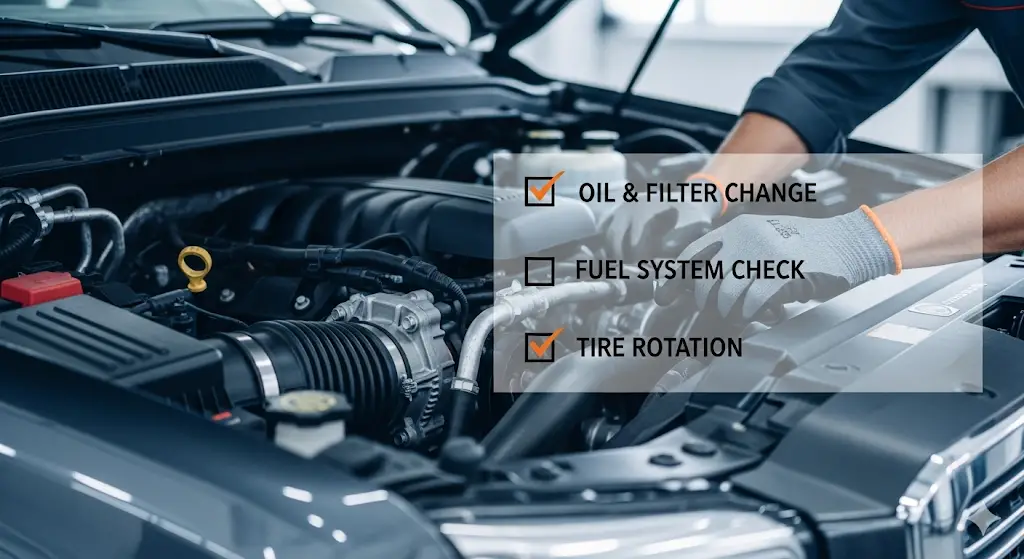
Step 1: Check Your Engine Oil
Oil is your engine’s lifeblood. Without it, metal parts grind against each other until something breaks permanently. its the most common fluid to keep up with.
How to check: Pull out the dipstick, wipe it clean with a rag, push it back in completely, then pull it out again. Look at where the oil sits on the stick.
What to look for: The oil should be between the minimum and maximum marks. If it’s at or below minimum, add oil immediately.
Check the condition: Touch the oil between your fingers. Good oil feels smooth. Bad oil feels gritty or contains particles. Fresh oil looks amber or black. Oil with coolant mixed in looks milky white.
When to act: Kelley Blue Book recommends changing oil every 5,000 to 7,500 miles. But if your oil feels gritty or looks milky, change it now regardless of mileage.
The electrical connection: Low oil can trigger your check engine light. Once that light stays on permanently, you can’t detect new problems when they develop.
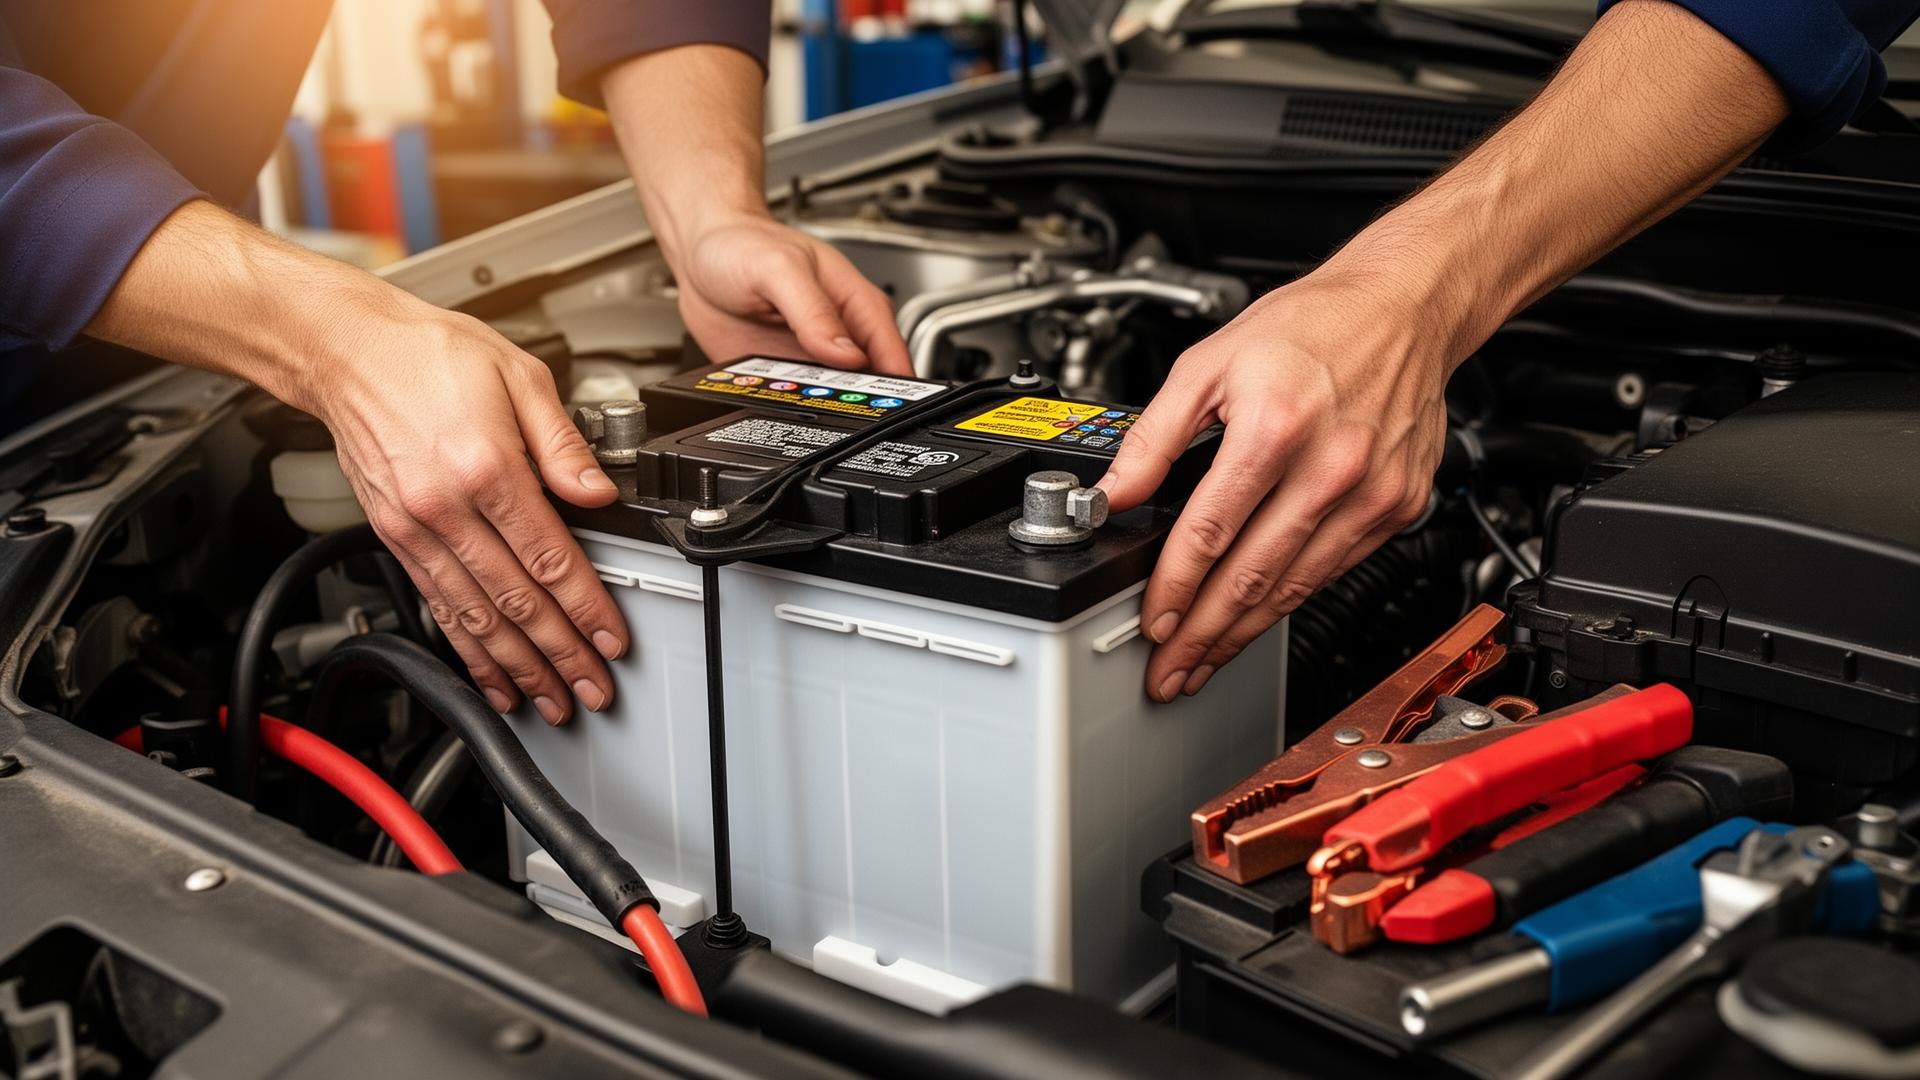
Step 2: Check Your Brake Fluid
Remember the 7-Up story? Brake fluid is literally what stops your car. No fluid means no brakes.
How to check: Find the brake fluid reservoir in your engine bay. It’s usually a clear or translucent container with “brake fluid” written on the cap.
What to look for: The fluid should be between the minimum and maximum lines marked on the side. The fluid should be clear, not dark or cloudy.
Safety warning: Never let brake fluid get low. If the level drops quickly, you have a leak. Stop driving immediately.
When to act: If the fluid is dark, cloudy, or below minimum, get it fixed before driving anywhere important.
Brake failure isn’t something you can “manage at home.”
Cost reality: A brake fluid check costs nothing. Brake system failure can cost your life.
Step 3: Check Your Coolant
Coolant keeps your engine from overheating. When it runs low, your engine temperature shoots up fast.
How to check: Look for the coolant reservoir; it’s usually a plastic tank with minimum and maximum marks. Never open the radiator cap when the engine is hot.
What to look for: Coolant should be between the min/max lines and look clean. Most coolant is bright green, orange, or pink. If it looks rusty or has floating particles, it’s bad.
Safety first: Always check coolant when the engine is cold. Hot coolant under pressure can spray and cause serious burns.
The hidden problem: Low coolant can cause your temperature gauge to give false readings and trigger multiple dashboard lights.
When to replace: If coolant looks contaminated or the level keeps dropping, fix it before your next long drive.
Step 4: Check Your Transmission Fluid
Transmission fluid keeps your gears shifting smoothly. Bad transmission fluid turns into transmission replacement fast.
How to check: Some cars have a transmission dipstick near the engine. Others require a mechanic to check. If you have a dipstick, check it with the engine running and transmission in park.
What to look for: Transmission fluid should be red or amber colored and feel smooth.
If it’s dark brown, black, or smells burnt, you have problems.
The checking process: Pull the dipstick, wipe it clean, reinsert it fully, then pull it out and read the level.
It should be between the minimum and maximum marks.
Electrical impact: Bad transmission fluid can cause shifting problems that trigger multiple dashboard lights and put your transmission computer into protection mode. with fault codes like ”P0700 Transmission Control System Malfunction”
Reality check: Transmission replacement costs $3,000-5,000. Fluid changes cost under $200.
Step 5: Check Your Power Steering Fluid
Power steering fluid makes turning your wheel effortless. When it’s low, steering becomes heavy and difficult.
How to check: Find the power steering reservoir, usually a small tank with a cap labeled “power steering” or “PS.”
What to look for: Fluid should be between minimum and maximum marks on the reservoir. The fluid should be clear or slightly amber, not dark or foamy.
Warning signs: If you hear whining noises when turning the wheel, check this fluid first. Low power steering fluid makes that noise before the system fails completely.
Safety concern: Heavy steering is dangerous in emergencies when you need to make quick maneuvers.
When to add: Top off immediately if below minimum. Use only the fluid type specified in your owner’s manual.
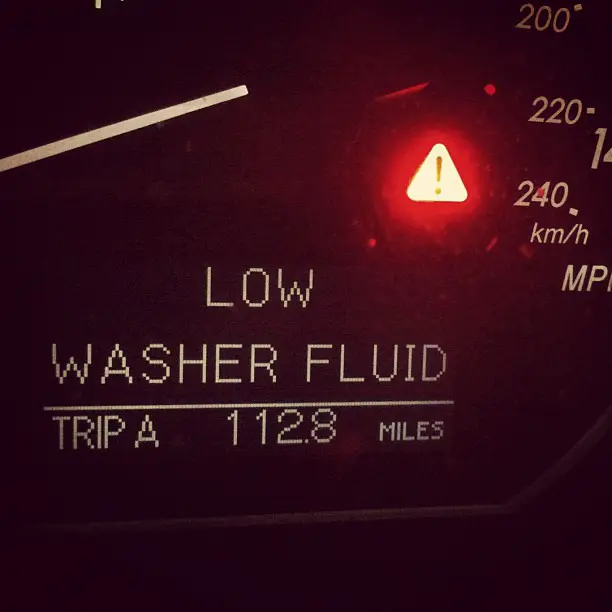
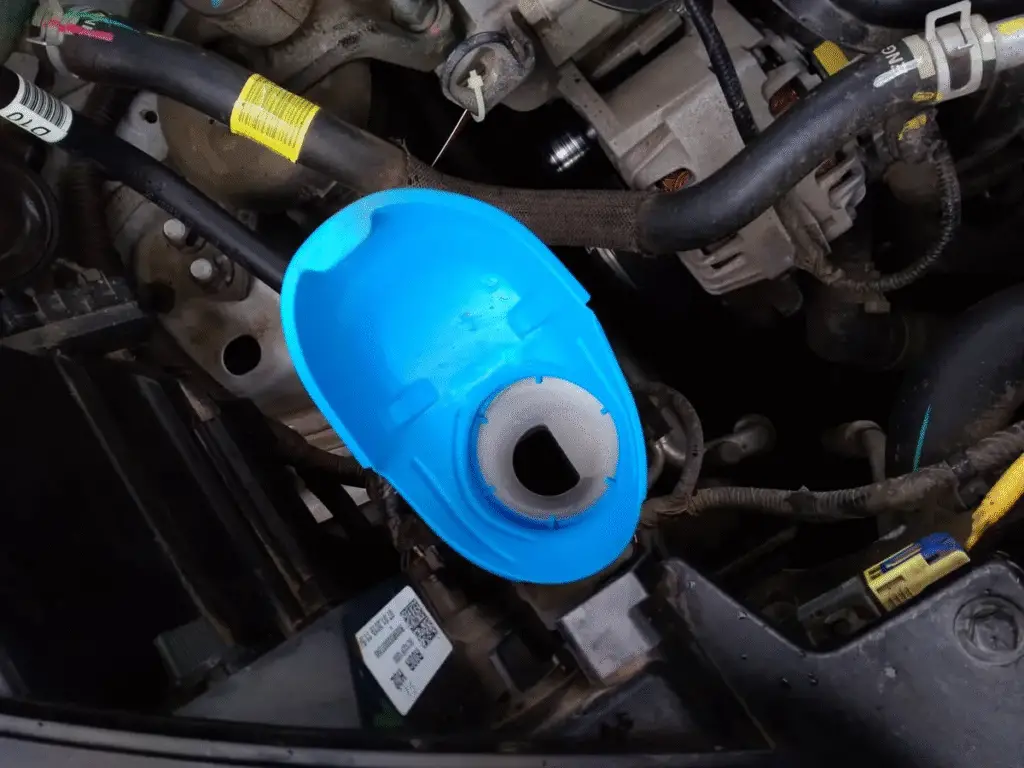
Step 6: Check Your Windshield Washer Fluid
This seems minor until you need to clean your windshield and nothing comes out.
How to check:Find the washer fluid reservoir: usually marked with a windshield symbol. Most are translucent, so you can see the fluid level.
What to look for: The Tank should be at least half full. In winter, use a fluid rated for freezing temperatures.
Simple process: If it’s low, buy washer fluid from any gas station and fill the reservoir. This is the easiest fluid to maintain.
Safety impact: Dirty windshields cause accidents. Don’t drive with limited visibility because you ran out of washer fluid.
Step 7: Check Your Differential Fluid (If Applicable)
Not all cars have accessible differential fluid, but if yours does, it’s worth checking.
How to check: Look for a fill plug on the differential housing under your car. This usually requires getting under the vehicle.
What to look for: Fluid should be level with the fill hole and look clean. Dark, thick, or contaminated fluid needs replacement.
When to check: Every 30,000-50,000 miles or if you hear whining from the rear of the car.
Professional note: This check is more complex. If you’re not comfortable getting under your car, have a professional do it.
Common Checking Mistakes That Cause Problems
Checking hot fluids: Always let your engine cool before checking coolant or transmission fluid. Hot fluids can burn you and give false readings.
Wrong fluid levels: Too much fluid is as bad as too little. Overfilling can cause leaks, foaming, and system damage.
Mixing fluid types: Never mix different brands or types of the same fluid. Stick to what your manual recommends.
Ignoring fluid condition: Level matters, but condition matters more. Clean fluid at a minimum level is better than contaminated fluid at a maximum level.
Contaminating during checks: Keep dipsticks and caps clean. Dirt in your fluids causes expensive damage.
Red Flags That Mean Stop Driving Now
Brake fluid below minimum: No exceptions. Get this fixed before driving anywhere.
Oil pressure light on: Turn off the engine immediately. Driving without oil pressure destroys engines in minutes.
Temperature gauge in the red: Pull over safely and turn off the engine. Overheating causes permanent damage fast.
Milky oil: Coolant is mixing with oil. This is serious engine damage that needs immediate attention.
Burnt-smelling transmission fluid: Dark, burnt fluid means transmission damage is already happening.
Don’t be like the driver who ignored his brake fluid and crashed into a wall. These warning signs exist to protect you and your wallet.
Take Action Today
Fluid checks take 10 minutes total. Major repairs take weeks and cost thousands.
Every fluid in your car serves a critical purpose. When you ignore them, you’re gambling with your safety and your money.
Start with your engine oil; it’s the most important and easiest to check. Then work through the rest of the fluids monthly.
Your car always speaks through dashboard lights, fluid levels, and performance changes. Listen to what it’s telling you before it stops talking altogether.
Clovis Auto Care believes in prevention over repair. Check your fluids, save your money, and keep your car running safely for years to come.
FAQ
How often should I check my car’s fluids?
Check engine oil monthly, brake fluid every three months, and other fluids every six months or before long trips.
Can I use any brand of fluid for my car?
No. Always use the fluid type and brand specified in your owner’s manual. Mixing different fluids can cause expensive damage.
What should I do if I find low fluid levels?
Add the correct fluid immediately, but investigate why it’s low. Fluids don’t disappear; they either leak or burn off due to problems.
Is it safe to drive with low fluids?
Never drive with low brake fluid. For other fluids, add the correct type before your next trip. Low fluids cause cascade failures that turn minor problems into major repairs.
When should I call a professional instead of checking myself?
If you see milky oil, smell burnt transmission fluid, or notice any fluid level dropping quickly, call a professional immediately. These signs indicate serious problems that need expert diagnosis.
Leave a Reply