



These mistakes testing a car battery with a multimeter are easy to make and even easier to miss, since the multimeter still shows a number either way, it just isn’t always the right one. I’m writing this list from a place of real pain.
Before I got cautious about these, I burnt out four digital multimeters over the years, and looking back, nearly every one of them died from a version of one of the mistakes below. Learning this properly cost me meters I didn’t need to lose.
1. Testing right after driving. A battery reads artificially high for a few minutes after a drive due to surface charge. Let the car sit for at least 15 to 30 minutes first for an accurate resting voltage.
2. Leaving the multimeter on AC instead of DC voltage. A car’s electrical system runs on DC. An AC setting gives a false or zero reading that has nothing to do with the battery’s actual condition.
3. Reversing the leads without noticing. A reading with a minus sign in front of it means the probes are swapped. Easy to miss if you’re not looking closely, and it can make a healthy battery look broken.
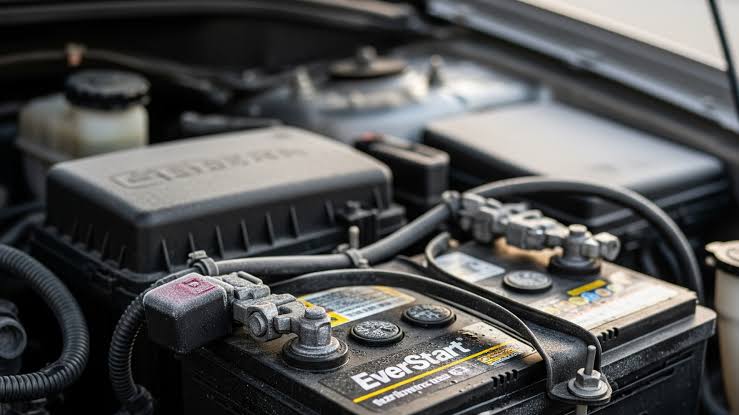
4. Ignoring corroded terminals. Corrosion at the connection point can produce a low or unstable reading even when the battery itself is fine. Clean the terminals before testing, not after getting a confusing result.
5. Testing only at rest and stopping there. A resting voltage reading only shows charge level. It doesn’t confirm the battery can actually deliver power under a real starting load, that’s a separate check entirely.
6. Testing with a charger still connected. The reading will reflect the charger’s output, not the battery’s real state. Disconnect the charger first and let the battery settle before testing.
7. Leaving the dial on current or resistance mode instead of voltage. This is the one that actually cost me. Current and resistance settings have very low internal resistance, and connecting a meter set this way directly across a live battery is close to shorting it through the meter.
This is what blew every one of the four multimeters I’ve burnt out over the years, and it happens fast, often before you even notice the reading looks wrong. Always double-check the dial is on DC voltage before the probes touch the terminals, not after.
Get It Right the First Time
Avoiding these seven mistakes is most of the battle, and the last one alone is worth remembering every time you pick up the meter. For the full step-by-step process done properly, from setup to what each reading actually means, see our complete guide on testing a car battery with a multimeter.
Conclusion
A multimeter only tells the truth if it’s used correctly, and it only survives if you respect it. Fix these seven habits, and every reading you take from here on will actually mean something, instead of leaving you guessing whether the number on the screen reflects the battery or just a mistake in how you tested it.
I learned most of this the expensive way, four meters in. Hopefully this list means you won’t have to.







Leave a Reply